As someone who frequently tests different Linux distributions, I used to have a collection of USB sticks, each with a different live ISO. While this works, it can be a bit cumbersome. That’s why I was thrilled when I discovered a much more elegant solution: using the GRUB2 bootloader to boot a Linux ISO file directly from my hard drive. This eliminates the need for a separate USB drive and makes testing new distros incredibly fast and convenient.
Table of Contents
This technique involves editing the GRUB configuration file to add a new menu entry that points to the ISO file. It might sound complex, but it’s a straightforward process. This guide will walk you through the steps I follow to set it up.
💿 Step 1: Prepare the ISO File
The first thing I need to do is download the ISO file of the Linux distribution I want to boot. For this example, let’s say I’ve downloaded the latest Debian live ISO. I then place this ISO file in a convenient location on my hard drive. I usually put it in the root directory of one of my partitions (e.g., `/debian-live.iso`) to make the path easy to remember.
It’s also crucial to know which partition the ISO file is on. I use a tool like GParted or the `lsblk` command in the terminal to identify the correct partition device name, such as `/dev/sda1` or `/dev/nvme0n1p2`.
📝 Step 2: Edit the GRUB Configuration
The next step is to tell GRUB how to find and boot the ISO file. I do this by editing the custom GRUB configuration file, which is located at `/etc/grub.d/40_custom`. I open this file with a text editor as a root user (e.g., `sudo nano /etc/grub.d/40_custom`).
At the bottom of this file, I add a new menu entry. The exact syntax can vary slightly between distributions, but for a Debian live ISO, it looks something like this:
```sh
 menuentry "Debian Live ISO" {
 set isofile="/debian-live.iso"
 loopback loop (hd0,gpt2)$isofile
 linux (loop)/live/vmlinuz boot=live findiso=$isofile
 initrd (loop)/live/initrd.img
 }
 ```
In this block, `(hd0,gpt2)` refers to the second partition on the first hard drive, which is where I saved my ISO file. I adjust this to match my own partition scheme. For anyone new to partitions, a guide on how to dual-boot Linux can provide some helpful background.
🔄 Step 3: Update GRUB and Reboot
After saving my changes to the `/etc/grub.d/40_custom` file, the final step is to update the main GRUB configuration file so that it includes my new menu entry. I do this by running a single command in the terminal: `sudo update-grub`.
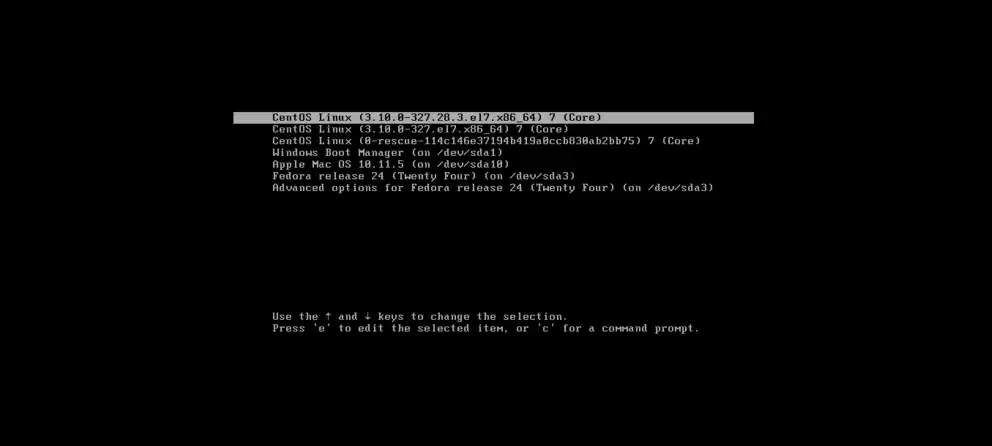
This command scans all the configuration scripts and generates a new `grub.cfg` file. Once it’s finished, I can reboot my computer. When the GRUB menu appears, I will now see a new option: “Debian Live ISO”. Selecting this will boot the Debian live system directly from the ISO file on my hard drive, just as if it were on a USB stick.
- Build a Python Chat Server: A Beginner’s Guide to Sockets and Threads
- A Practical Guide to Strace in Linux: Debugging the Undebuggable
- A Guide to PostgreSQL – How to Optimize Database Performance
- A Guide to Regex – How to Use Regular Expressions with grep
- A Guide to DNF – How to Manage Software Packages in Fedora
- A Beginner’s Guide to Godot – How to Start Developing Video Games
- An Introduction to Ansible – How to Automate Your System Administration