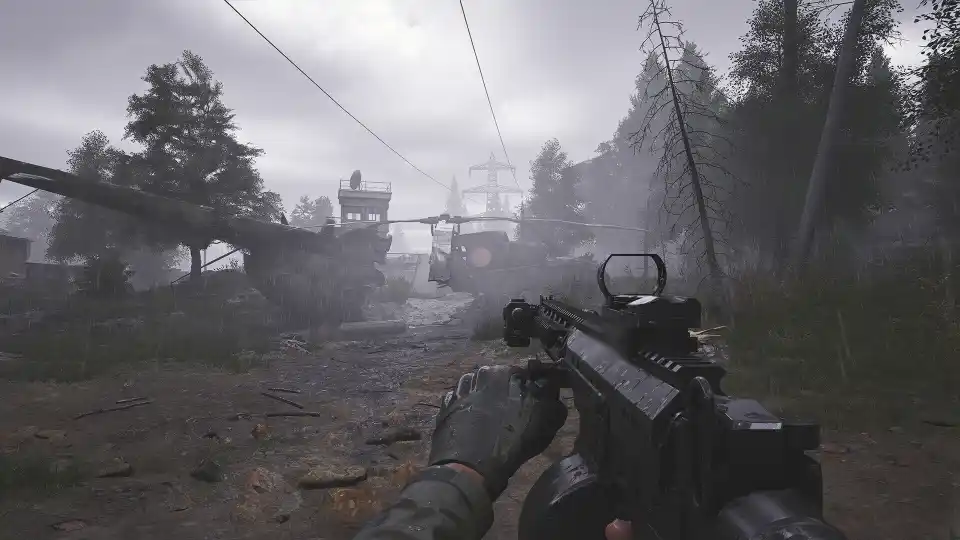
In the hyper-competitive world of tactical shooters like Arena Breakout: Infinite, players are constantly searching for any possible advantage that can give them an edge in a firefight. For decades, one of the most popular and fiercely debated tweaks in the competitive community has been the use of a 4:3 stretched aspect ratio. This technique, popularized by professional Counter-Strike players, alters the game’s display to make enemy models appear wider and potentially easier to hit.
Table of Contents
- 1.1 The Great Debate: Why Use Stretched Resolution?
- 1.1.1 The Pros: The Perceived Advantages
- 1.1.2 The Cons: The Objective Disadvantages
- 1.2 Section 2: Creating Your Custom Resolution (The Prerequisite)
- 1.2.1 Choosing the Right 4:3 Resolution
- 1.2.2 For NVIDIA Users (NVIDIA Control Panel)
- 1.2.3 For AMD Users (Radeon Software)
- 1.3 Section 3: Applying the Stretched Resolution In-Game
- 1.3.1 Step 1: Set Your GPU to Full-Screen Scaling
- 1.3.2 Step 2: Set Your Desktop Resolution
- 1.3.3 Step 3: Configure In-Game Settings
While Arena Breakout: Infinite doesn’t offer a simple in-game toggle for this, it is absolutely possible to achieve the stretched effect with a few adjustments to your GPU’s control panel and in-game settings. This guide will provide you with a complete, step-by-step walkthrough on how to set up and play with a 4:3 stretched resolution on both NVIDIA and AMD graphics cards. We’ll also provide a deep dive into the pros and cons of this setup to help you decide if making the switch is the right choice for your playstyle.
The Great Debate: Why Use Stretched Resolution?
Before we get into the “how,” it’s important to understand the “why.” Switching to a stretched resolution is a significant trade-off. You are sacrificing visual fidelity and peripheral vision for a very specific potential advantage.
The Pros: The Perceived Advantages
- Wider Player Models: This is the primary reason players make the switch. By taking a 4:3 aspect ratio image and stretching it horizontally to fit a modern 16:9 widescreen monitor, every character model in the game becomes physically wider on your screen. In theory, this makes targets bigger and easier to acquire, especially during fast-paced “flick” shots.
- Increased Focus: Because a 4:3 aspect ratio has a narrower horizontal Field of View (FOV), it can help some players focus more intensely on the center of their screen, where their crosshair is. It reduces the amount of visual information on the peripheries, which some find less distracting.
- Nostalgia and Placebo Effect: For many veteran players who grew up playing older shooters on 4:3 CRT monitors, this aspect ratio simply “feels right.” This sense of comfort and familiarity can provide a real confidence boost, which can in itself lead to better performance.
The Cons: The Objective Disadvantages
- Reduced Horizontal FOV: This is the biggest and most significant drawback. By using a 4:3 aspect ratio, you are losing a significant amount of peripheral vision on the left and right sides of your screen compared to a native 16:9 resolution. This makes you much more vulnerable to being flanked by enemies you simply cannot see.
- Faster Apparent Horizontal Movement: Because the image is stretched horizontally, any movement across your screen (like an enemy running from left to right) will appear to happen much faster. For some players, this can make tracking fast-moving targets more difficult.
- Distorted Visuals: The game will not look as the developers intended. The image will be noticeably stretched and pixelated. If you value visual fidelity and immersion, stretched resolution is not for you.
Section 2: Creating Your Custom Resolution (The Prerequisite)
The first step, which happens outside the game, is to create the custom 4:3 resolution in your GPU’s driver software.
Choosing the Right 4:3 Resolution
You first need to determine which 4:3 resolution corresponds to your monitor’s native resolution. Using a resolution that maintains your native vertical pixel count is usually best for clarity.
| Your Native Resolution (16:9) | Common 4:3 Resolutions |
| 1920×1080 (FHD) | 1440×1080 (Recommended) or 1280×960 |
| 2560×1440 (QHD) | 1920×1440 (Recommended) or 1728×1080 |
| 3840×2160 (4K) | 2880×2160 (Recommended) |
E-Tablolar’a aktar
For NVIDIA Users (NVIDIA Control Panel)
- Right-click on your desktop and open the NVIDIA Control Panel.
- Navigate to the “Display” section and click on “Change resolution.”
- Click the “Customize…” button, and in the new window, check the box for “Enable resolutions not exposed by the display” and click “Create Custom Resolution…”.
- Enter the horizontal and vertical pixels for your chosen 4:3 resolution (e.g.,
1440and1080). - Ensure the Refresh rate (Hz) matches your monitor’s maximum refresh rate.
- Click “Test.” Your screen will go black for a moment and then display the new resolution. Click “Yes” to save it.
For AMD Users (Radeon Software)
- Right-click on your desktop and open AMD Software: Adrenalin Edition.
- Click the “Gaming” tab at the top, then navigate to the “Display” sub-tab.
- On the right side, you will see a box labeled “Custom Resolutions.” Click “Create New.”
- Enter your desired 4:3 resolution in the “Resolution (Px)” fields (e.g.,
1440H,1080V). - Make sure the “Refresh Rate (Hz)” matches your monitor’s maximum.
- Click “Create” to save the new resolution.
Section 3: Applying the Stretched Resolution In-Game
Now that your custom resolution is created, you need to configure your system and the game to use it correctly.
Step 1: Set Your GPU to Full-Screen Scaling
This is the crucial step that “stretches” the image.
- For NVIDIA: In the NVIDIA Control Panel, go to “Adjust desktop size and position.” Under the “Scaling” tab, select “Full-screen.”
- For AMD: In the AMD Software, under the “Display” settings where you created the custom resolution, find the “Scaling Mode” option and set it to “Full Panel.”
Step 2: Set Your Desktop Resolution
Before you launch the game, you must change your Windows desktop resolution to the new custom resolution you just created.
- Right-click on your desktop and go to “Display settings.”
- Under “Display resolution,” find and select your new custom 4:3 resolution (e.g., 1440×1080).
- Click “Keep changes.” Your desktop will now appear stretched.
Step 3: Configure In-Game Settings
With your desktop running at a stretched 4:3, the final step is to configure the game itself.
- Launch Arena Breakout: Infinite.
- Go to the Graphics Settings.
- Set the Display Mode to “Windowed Fullscreen” or “Fullscreen Windowed.”
Because the game is running in a borderless window, it will automatically adopt the resolution of your desktop. Since your desktop is set to a 4:3 resolution and your GPU is set to stretch any non-native resolution to fit the full panel of your 16:9 monitor, the game will now be successfully running in 4:3 stretched mode.
Experiment with this setup in a practice environment to see if the trade-off of a narrower field of view for wider targets is the right fit for your competitive playstyle.
- Wobbly Life: How to Find the Secret Free Motorcycle
- Femboy Futa House – How to Open the Phone and Solve Missing Icon Issues
- Deep Rock Galactic: Survivor – The Ultimate Hazard 5 Strategy Guide
- Deep Rock Galactic: Survivor – A Complete Guide to All Achievements
- Mars Attracts – Save File Location
- Arena Breakout: Infinite – How to Boost FPS/Performance
- Arena Breakout: Infinite – A Complete Guide to Weapons, Mods