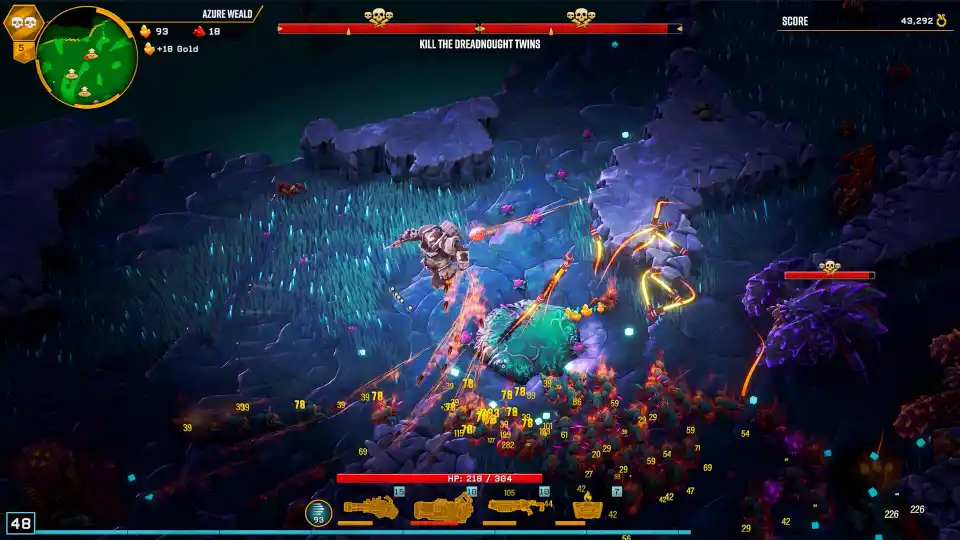
So you’ve mastered the basics of mining and surviving, conquered the lower Hazard levels, and now you’re ready to take on the ultimate challenge in Deep Rock Galactic: Survivor: the punishing, unforgiving, and deeply rewarding Hazard 5. Welcome to the endgame, miner. This is where the real test begins.
Table of Contents
- 1.1 The Survivor’s Mindset: Core Concepts for Hazard 5 Play
- 1.1.1 The Central Dilemma: Short-Term Power vs. Long-Term Scaling
- 1.1.2 Calibrating Your “Greedometer”
- 1.2 The Unwritten Rules of Survival: Advanced Gameplay Tips
- 1.2.1 Resource Management: More Than Just Gold and Nitra
- 1.2.2 Combat and Upgrade Strategy
Success at the game’s highest difficulty is less about which class you play and more about mastering the game’s core strategic concepts: the constant tension between risk and reward, the weight of every single decision, and a deep, nuanced understanding of the game’s complex systems.
This guide is a deep dive into the high-level strategies and decision-making processes required to consistently succeed on Hazard 5. We’ll cover the fundamental concepts that should govern your every move, crucial gameplay tips that separate elite players from the rest, and the specific mindset you need to adopt to survive the most punishing depths of Hoxxes IV.
The Survivor’s Mindset: Core Concepts for Hazard 5 Play
To consistently win on Hazard 5, you must shift your thinking from moment-to-moment survival to a holistic, run-based strategy. Every action must be weighed against one single, overarching question: “Does this increase my chance of completing the entire run?”
The Central Dilemma: Short-Term Power vs. Long-Term Scaling
The most important strategic tension in Deep Rock Galactic: Survivor is the constant battle between short-term power and long-term scaling. At every level up, in every shop, and with every objective, you are faced with a choice. Think of your run as an investment portfolio:
- Short-Term Power (The Safe Bet): These are your “safe bonds.” Taking an immediate raw damage upgrade, a bit of extra armor, or a health boost will make you stronger right now. This is crucial if your build is weak and you are at risk of being overwhelmed before you can kill the stage’s elites. If you die on Stage 2, your amazing endgame build is worthless.
- Long-Term Scaling (The High-Risk Investment): These are your “high-yield stocks.” Upgrades like bonus XP gain, increased luck, or mining speed don’t make you kill bugs faster in the immediate moment. However, their value compounds over the course of the run, resulting in a much higher number of total levels, more resources, and a significantly more powerful build by the time you face the final boss, the Dreadnought.
The key to Hazard 5 is learning to correctly assess the state of your run. Is your current build strong enough to survive the next five minutes? If the answer is yes, you can afford to make the “greedy” play and invest in long-term scaling. If you are struggling, you may be forced to take immediate power just to stay alive.
Calibrating Your “Greedometer”
This leads to one of the most important skills in the game: calibrating your “greedometer.” In this context, “greed” means prioritizing mining and long-term scaling (like XP and gold) over immediate safety and killing bugs. An elite player knows exactly when to be greedy. If the swarm is thin and you have room to move, it’s often correct to ignore the bugs, take a few hits, and focus on mining out every last mineral on the map. However, if you are getting cornered and your health is low, you must have the discipline to abandon that last gold vein and fight your way back to safety. Mastering this constant risk/reward calculation is what will elevate your play.
The Unwritten Rules of Survival: Advanced Gameplay Tips
Beyond the core concepts, there are a number of specific, high-level tips that are essential for consistent success on Hazard 5.
Resource Management: More Than Just Gold and Nitra
- Time is Your Most Valuable Resource: In each stage, you have a limited amount of time before the elites spawn and the pressure ramps up. Every second you spend standing still is a second wasted. You should always be doing something productive: mining, kiting bugs towards minerals so you can fight and mine simultaneously, or positioning yourself for the supply drop.
- Health is a Tool: Your health bar is a resource to be spent. Do not be afraid to take a calculated hit or two if it means securing a full gold vein or grabbing a crucial upgrade. Avoiding all damage at the cost of falling behind in resources is a losing strategy. The goal is to end the stage with 1 HP and all objectives complete, not full health and half the map untouched.
- Understand Opportunity Cost: Every choice you make comes at the cost of another. Rerolling a level-up selection costs gold that you can’t spend in the shop. Killing the elites quickly to get their loot crate means you are sacrificing the time you could have spent mining the rest of the map. Always weigh these trade-offs.
Combat and Upgrade Strategy
- Control the Swarm, Don’t Be Controlled by It: Before the elites spawn, your primary goal is to mine. Killing bugs speeds up the stage timer, giving you less time. Therefore, you should only kill what you absolutely must to stay alive. Kite the main swarm around the map as you clear out the mineral veins.
- Every Build Needs a “Get Out of My Face” Button: The sheer density of the swarms on Hazard 5 can be overwhelming. Every successful build needs some form of reliable crowd control or a defensive tool that creates breathing room. This can be Cryo weapons or grenades that freeze enemies, weapons with high knockback effects, or even weapons that automatically target the nearest enemy, protecting your flanks.
- Weapon Levels are Just Gateways to Overclocks: The primary value of leveling up a weapon is to unlock its powerful Overclocks. The base stat increases are nice, but the Overclocks are what truly define a weapon’s power. Prioritize leveling weapons with strong Overclock pools.
- Hunt for Unstable Overclocks: The red “Unstable” Overclocks are often the most powerful, typically doubling a weapon’s damage output or fundamentally changing how it functions. Once a key weapon in your build gets close to level 18, securing its Unstable Overclock should become your highest priority.
- Never Salvage Overclocks: It is almost never correct to salvage an Overclock. The small amount of resources you get in return is not worth permanently removing a potentially build-defining option from your pool for the rest of the run.
By shifting your mindset from simple survival to strategic optimization, you can conquer the game’s highest difficulty. Master these concepts, calibrate your greedometer, and always remember the core mantra: the faster the bugs die, the better your chance of survival. Rock and Stone!
By Wheredoyoukeepthechocolate?
- Wobbly Life: How to Find the Secret Free Motorcycle
- Femboy Futa House – How to Open the Phone and Solve Missing Icon Issues
- Deep Rock Galactic: Survivor – A Complete Guide to All Achievements
- Mars Attracts – Save File Location
- Arena Breakout: Infinite How to Play 4:3 Stretched Resolution (Nvidia & Amd Guide)
- Arena Breakout: Infinite – How to Boost FPS/Performance
- Arena Breakout: Infinite – A Complete Guide to Weapons, Mods