As you scavenge for survival in the brutal, unforgiving world of Castor Woods, you’ll quickly learn that the most valuable loot is rarely left out in the open. Tucked away in the dark corners of abandoned apartments and forgotten offices are locked safes—hidden caches of high-tier loot, rare crafting materials, and valuable resources that are protected by environmental puzzles and cryptic codes.
Table of Contents
- 1.1 The Art of the Safe-Cracker: How to Approach Puzzles
- 1.1.1 Read Every Note and Clue
- 1.1.2 Think Outside the Box: Break Everything!
- 1.1.3 The Controller Trick: Opening Safes Without a Code
- 1.2 Old Town Safe Locations and Solutions
- 1.2.1 Safe #1: The Timely Call
- 1.2.2 Safe #2: The Hidden Treasure Under the Painting
Cracking these safes requires a keen eye for detail, a sharp mind for solving riddles, and a willingness to interact with the game world in unexpected ways. This guide is a community-driven effort to document the location and solution for every locked safe in the Old Town region of Dying Light: The Beast. We’ll provide detailed, step-by-step walkthroughs for each known safe, helping you claim the valuable treasures within.
The Art of the Safe-Cracker: How to Approach Puzzles
Before we get to the specific locations, it’s important to understand the core philosophy behind the safe puzzles in Dying Light: The Beast.
Read Every Note and Clue
The most important skill for a successful safe-cracker is to be a diligent reader. The combination for a safe is almost never written on the safe itself. Instead, it is hidden within the game’s rich environmental storytelling. You will need to find and read every single collectible note, letter, journal entry, and official-looking document you come across. These notes often contain a riddle, a significant date, or a series of numbers that directly correspond to the safe’s combination.
Think Outside the Box: Break Everything!
A crucial tip that many new players miss is that not all clues are written down. Sometimes, you need to physically interact with the environment in a destructive way to reveal a secret. Always be on the lookout for interactable or breakable objects near a locked safe.
This could be a loose floorboard, a cracked and crumbling wall, or, as we’ll see in one of the puzzles below, a simple picture hanging on a wall. Hitting these objects with a melee weapon can often reveal a hidden compartment, a secret note, or the code itself.
The Controller Trick: Opening Safes Without a Code
For players who use a controller, there is a brilliant and immersive “cheat” that allows you to open safes without ever finding the code. When you are turning the dial on a safe, pay very close attention to the vibration in your controller.
You will feel a slight, unique vibration when the dial passes over one of the correct numbers in the combination. By slowly turning the dial and carefully noting which three numbers give you this special feedback, you can “feel” your way to the correct combination.
Old Town Safe Locations and Solutions
Here are the detailed walkthroughs for all currently known safes in the Old Town district.

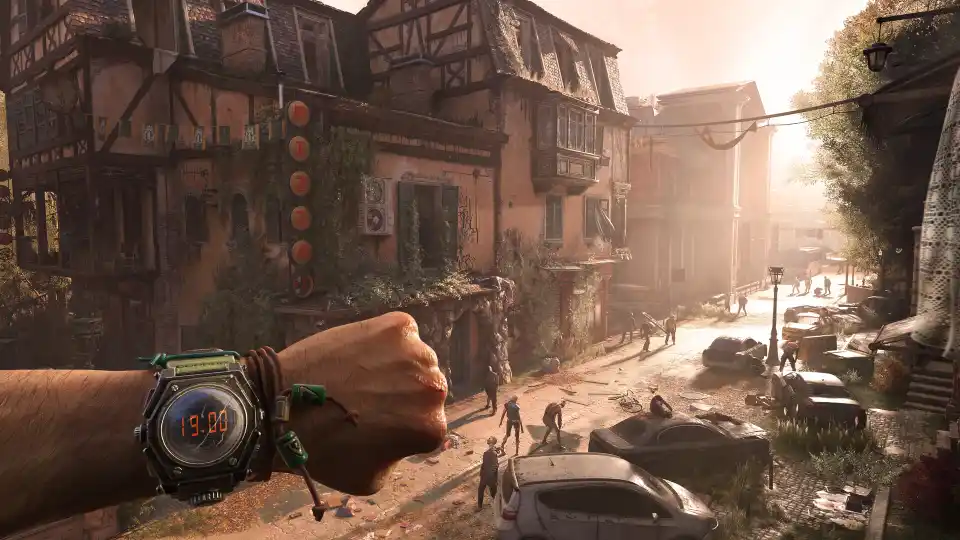
Safe #1: The Timely Call
- Location: This safe is found in an apartment building in the southern part of Old Town. The safe itself is located in a second-floor bedroom, sitting on a nightstand next to the bed.
- The Clue: The clue for this safe is a note found on a nearby desk. The note contains a rambling, slightly panicked message, but the key is to ignore the poetic language and focus on the first, most direct instruction: “Listen, this is very important: call me at exactly 12:25:55. Not a second earlier or later.”
- The Solution: The code for the safe is hidden in plain sight within the note itself. The numbers mentioned in the urgent message are the combination you need.
- Code: 12-25-55
Safe #2: The Hidden Treasure Under the Painting
- Location: This safe is located in another apartment in the northern district of Old Town. You will find it inside a locked wardrobe in the main living area.
- The Clues: This is a fantastic multi-part environmental puzzle. In the same room, you will find a love poem on a table. This poem is a red herring designed to distract you. The real clue is a second, seemingly unimportant note that can be found on the kitchen counter. This note will mention a neighbor and their noisy dog.
- The Walkthrough:
- After reading the note about the dog, you will notice that the doorway to the kitchen is blocked by debris, and you cannot enter from the living room.
- You must use your parkour skills. Go out the living room window, carefully traverse the exterior ledge of the building, and enter the apartment’s kitchen through its own open window.
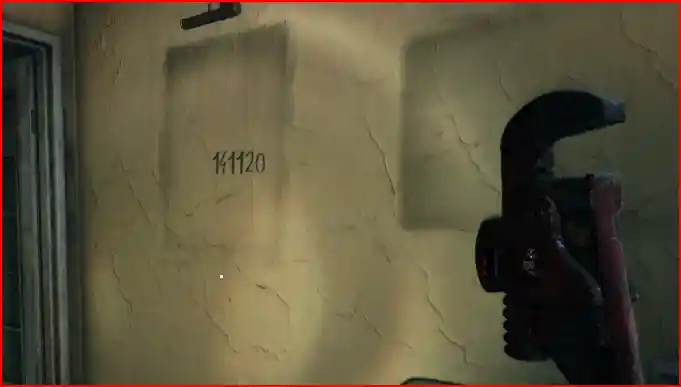
- Once you are inside the kitchen, look on the wall. You will see a painting of a dog.
- Remembering the note and the general tip to “break things,” you must hit the dog painting with a melee weapon.
- The painting will fall off the wall, revealing the safe code—14-11-20—scrawled on the wall behind it.
- You can now return to the living room and use the code to open the safe in the wardrobe.
- Code: 14-11-20
This guide is a living document. As the community continues to explore the vast world of Castor Woods and uncover more of its secrets, we will update this list with any new safe locations and solutions. If you find a safe that is not listed here, let us know in the comments below! Happy hunting!
- Dying Light: The Beast – The Ultimate Advanced Graphics Guide
- Dying Light: The Beast – A Complete Guide to All Blueprint Locations
- Dying Light: The Beast – A Complete Walkthrough for the ‘Safe Haven’ Quest
- Dying Light: The Beast – How to Open the Locked Train Car on the Bridge
- Dying Light: The Beast – A Spoiler-Free Guide to the Main Story Achievements
- Dying Light: The Beast – The Full Story of Kyle Crane
- Dying Light: The Beast – A Complete Guide and Roadmap to All 31 Achievements