Hollow Knight is a modern masterpiece, a breathtaking journey through the hauntingly beautiful, ruined kingdom of Hallownest. It’s also famous for its challenging combat and unforgiving exploration. For many new players, the initial hours can feel overwhelming, a frustrating cycle of getting lost, dying to difficult enemies, and feeling underpowered. If you find yourself bouncing off the game but are captivated by its world and want to continue, there is a better way.
Table of Contents
- 1.1 The “Easy Mode” Philosophy: Charms Over Bosses
- 1.2 The Least-Effort Route: A 5-Phase Checklist
- 1.2.1 Phase 1: Getting Your Bearings
- 1.2.2 Phase 2: Unlocking Your First Tools
- 1.2.3 Phase 3: The Path to Power (Post-Hornet)
- 1.2.4 Phase 4: Mastering Movement
- 1.2.5 Phase 5: The Final Push for Power
- 1.3 Your Early-Game Arsenal: The 25 Essential Charms
- 1.4 Essential Tip: The “Quit to Bench” Safety Trick
This guide is designed to reveal Hollow Knight’s hidden “difficulty setting.” This isn’t a cheat or a mod, but a specific, low-spoiler path built directly into the game by the developers. By prioritizing the collection of charms and ability upgrades over fighting difficult bosses, you can significantly empower your Knight early on, making the rest of your journey much more manageable and enjoyable. This guide provides a “least-effort” checklist to help you quickly gather 25 specific early-game charms and unlock a total of 8 charm notches, giving you the strength and versatility to face Hallownest on your own terms.
The “Easy Mode” Philosophy: Charms Over Bosses
Hollow Knight‘s brilliant, non-linear design is one of its greatest strengths, but it can also be a source of frustration for new players. It’s incredibly easy to wander into a new area and stumble upon a powerful boss long before you are properly equipped to handle it. Trying to brute-force these encounters when you’re underpowered can feel like hitting a wall, leading many to quit in frustration.
The core strategy of this guide is to flip the script: focus on exploration and collection first. Instead of throwing yourself at every boss you find, your primary goal should be to gather the powerful Charms scattered throughout the early-game areas. In Hallownest, charms are your key to customization and power. They can increase your nail’s reach, allow you to heal faster, grant you defensive shields, or even spawn friendly creatures to fight alongside you.
By collecting 25 of the most accessible charms, you will be able to purchase all four of the extra Charm Notches sold by the merchant Salubra. More notches mean you can equip more, and more powerful, charm combinations at once. By following this route to gain 8 notches and a versatile collection of 25 charms early on, you can create powerful, specialized loadouts that can trivialize many of the challenges that once seemed insurmountable.
The Least-Effort Route: A 5-Phase Checklist
This route is designed to minimize backtracking and get you the most power with the least amount of friction. It’s a flexible path, not a rigid set of rules. Feel free to explore, but use this as your main guidepost when you feel lost or underpowered.
Phase 1: Getting Your Bearings
- Goal: Acquire your first charm.
- Steps:
- As soon as you arrive in the town of Dirtmouth, find the map maker Cornifer. Buy the map of the Forgotten Crossroads from him.
- Visit his wife, Iselda, in their shop and buy the Wayward Compass charm. This is the single most important item for any new player, as it shows your location on the map. Also, purchase the Quill so you can update your maps at benches.
- Result: 1 Charm, 3 Notches.
Phase 2: Unlocking Your First Tools
- Goal: Free the shopkeeper Sly and get your first spell.
- Steps:
- In the Forgotten Crossroads, find the False Knight boss. You do not have to defeat him. After he becomes staggered for the first time, you can break the wall on the left side of the arena and escape.
- Proceed past the boss room to the Ancestral Mound. Here, you will acquire the Vengeful Spirit spell and the Soul Catcher charm.
- Find and defeat the Gruz Mother (a mini-boss). This will free the merchant Sly, who will then open a shop in Dirtmouth.
- Return to Dirtmouth and buy the Gathering Swarm and Stalwart Shell charms from Sly.
- Result: 4 Charms, 3 Notches.
Phase 3: The Path to Power (Post-Hornet)
- Goal: Defeat Hornet, get the Dash ability, and collect 10 more charms.
- Steps:
- Use your Vengeful Spirit spell to defeat the Elder Baldur blocking the path to Greenpath.
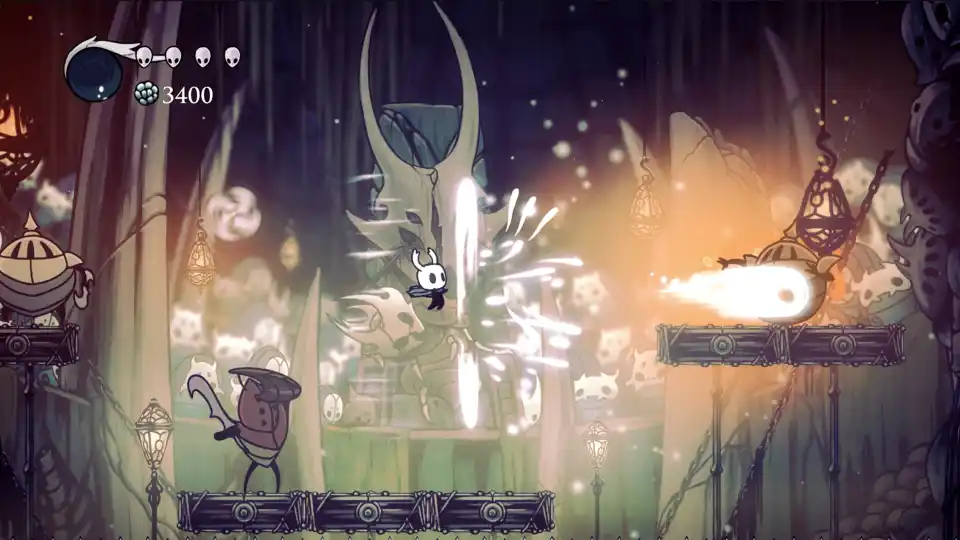
- Explore Greenpath thoroughly and find the Hornet Protector boss. This is your first mandatory major boss fight. Defeating her will reward you with the Mothwing Cloak (Dash), an essential movement ability.
- With the Dash ability, you can now access many new areas. Your priority is to find the charm merchant Salubra in the southeastern corner of the Forgotten Crossroads. Purchase Longnail, Shaman Stone, Lifeblood Heart, Steady Body, and Quick Focus from her.
- Now, head south from the Crossroads into the Fungal Wastes. Find the NPC Leg Eater and purchase the three Fragile charms: Fragile Greed, Fragile Heart, and Fragile Strength.
- While in Greenpath and the Fungal Wastes, you can also find the Thorns of Agony and Dashmaster charms.
- Result: 14 Charms. After collecting your 5th charm, buy your 4th Notch from Salubra. After collecting your 10th, buy your 5th Notch.
Phase 4: Mastering Movement
- Goal: Get the Mantis Claw and collect 4 more charms.
- Steps:
- Navigate through the Fungal Wastes to Mantis Village. You do not need to fight the Mantis Lords boss. Simply traverse the village to acquire the Mantis Claw, which allows you to cling to and jump off walls.
- With the Dash and Mantis Claw, you can now backtrack to previous areas to find more collectibles. Your priority is to rescue at least 10 Grubs. Returning to the Grubfather in the Forgotten Crossroads will reward you with Geo and the incredibly useful Grubsong charm.
- Return to the very start of the game at King’s Pass to find Fury of the Fallen.
- Explore the Howling Cliffs (accessible via King’s Pass) to find Joni’s Blessing and Baldur Shell.
- Result: 18 Charms. After collecting your 18th charm, buy your 6th Notch from Salubra.
Phase 5: The Final Push for Power
- Goal: Get the Crystal Heart, the Dream Nail, and the final charms.
- Steps:
- Purchase the Lumafly Lantern from Sly in Dirtmouth. Use it to enter the dark passage in the east of the Forgotten Crossroads that leads to Crystal Peak.
- Traverse Crystal Peak to acquire the Crystal Heart (Super Dash) ability. While you’re here, find the Shopkeeper’s Key and the Deep Focus charm.
- From Crystal Peak, find the path to the Resting Grounds. Here, you will be given the Dream Nail and can find the Dreamshield charm.
- Return the Shopkeeper’s Key to Sly to unlock his full inventory, then purchase Heavy Blow and Sprintmaster.
- With your new abilities, you can now find the Glowing Womb and Spore Shroom charms in the Forgotten Crossroads and Fungal Wastes, respectively.
- Finally, use the Dream Nail in the Howling Cliffs to summon the Grimm Troupe. This will make the Grimmchild charm available in Dirtmouth, bringing your total to 25.
- Result: 25 Charms. You can now buy your 7th Notch from Salubra. Finally, head to the Fungal Wastes and defeat the two Shrumal Ogres to get your 8th Notch.
Your Early-Game Arsenal: The 25 Essential Charms
Here is a quick reference table of the 25 charms you will collect by following this route.
| Charm Name | Brief Description | General Location |
| Wayward Compass | Shows your location on the map. | Dirtmouth (Iselda) |
| Soul Catcher | Gain more SOUL from striking enemies. | Forgotten Crossroads |
| Stalwart Shell | Increases invincibility time after taking damage. | Dirtmouth (Sly) |
| Gathering Swarm | Automatically collects dropped Geo for you. | Dirtmouth (Sly) |
| Thorns of Agony | Damages nearby enemies when you take damage. | Greenpath |
| Longnail | Slightly increases the reach of your Nail. | Forgotten Crossroads (Salubra) |
| Shaman Stone | Increases the power of your spells. | Forgotten Crossroads (Salubra) |
| Lifeblood Heart | Adds 2 temporary Lifeblood masks when resting. | Forgotten Crossroads (Salubra) |
| Steady Body | Prevents knockback when striking enemies. | Forgotten Crossroads (Salubra) |
| Quick Focus | Decreases the time it takes to Focus (heal). | Forgotten Crossroads (Salubra) |
| Fragile Greed | Increases the amount of Geo you collect. (Breaks on death) | Fungal Wastes (Leg Eater) |
| Fragile Heart | Increases your maximum health. (Breaks on death) | Fungal Wastes (Leg Eater) |
| Fragile Strength | Increases your Nail damage. (Breaks on death) | Fungal Wastes (Leg Eater) |
| Dashmaster | Allows you to dash more frequently and downwards. | Fungal Wastes |
| Grubsong | Gain SOUL when you take damage. | Forgotten Crossroads (Grubfather) |
| Fury of the Fallen | Greatly increases Nail damage when you have 1 mask left. | King’s Pass |
| Joni’s Blessing | Converts all your masks to Lifeblood, increasing health but preventing healing. | Howling Cliffs |
| Baldur Shell | Protects you from damage while Focusing (healing). | Howling Cliffs |
| Deep Focus | Heal two masks at once, but the cast time is longer. | Crystal Peak |
| Dreamshield | A rotating shield that blocks projectiles. | Resting Grounds |
| Sprintmaster | Increases your movement speed. | Dirtmouth (Sly) |
| Heavy Blow | Increases the knockback enemies suffer from your Nail. | Dirtmouth (Sly) |
| Glowing Womb | Uses SOUL to spawn friendly hatchlings that attack enemies. | Forgotten Crossroads |
| Spore Shroom | Releases a damaging spore cloud when you Focus (heal). | Fungal Wastes |
| Grimmchild | Summons a flying companion that attacks enemies. | Dirtmouth (Grimm Troupe) |
Essential Tip: The “Quit to Bench” Safety Trick
If you die and your Shade is in a very dangerous or hard-to-reach spot, there’s a safe way to recover it. After you reclaim your Shade (and your Geo), simply pause the game, select “Quit to Menu,” and reload your save. You will respawn safely at the last bench you rested at with all of your Geo intact. This is not an exploit; it’s a quality-of-life trick to avoid unnecessary frustration.
By following this guide, you can overcome Hollow Knight’s initial difficulty curve and arm yourself with the power and tools needed to fully enjoy the breathtaking world of Hallownest. Good luck, little ghost!
- Wobbly Life: How to Find the Secret Free Motorcycle
- Femboy Futa House – How to Open the Phone and Solve Missing Icon Issues
- Deep Rock Galactic: Survivor – The Ultimate Hazard 5 Strategy Guide
- Deep Rock Galactic: Survivor – A Complete Guide to All Achievements
- Mars Attracts – Save File Location
- Arena Breakout: Infinite How to Play 4:3 Stretched Resolution (Nvidia & Amd Guide)
- Arena Breakout: Infinite – How to Boost FPS/Performance