This guide covers the “Berry Gathering” quest, which involves finding berries for a Druid character. Completing the quest rewards a charm, with additional berries yielding extra currency.
Table of Contents
Berry Gathering Quest
1. Finding the Druid
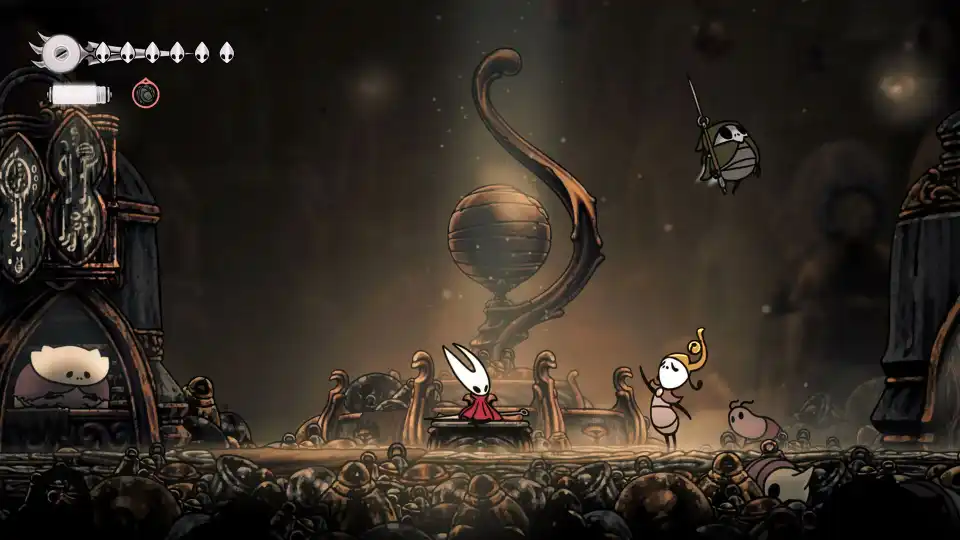
The Druid is located in the “Mosshelm” area (also referred to as the “Bone Lowland” or “Mossy Lowland” in the context). You can find them sitting in a small cave on the right-hand side of the area.
2. The Quest & Reward
- The Druid asks you to bring them 3 Bog Berries.
- Reward for 3 Berries: A Charm.
- Reward for Additional Berries: Each berry beyond the third is sold for 80 Rosaries (the game’s currency).
3. Berry Locations
A total of five berries have been found by the community. The guide author initially found four but could not reach the fourth.
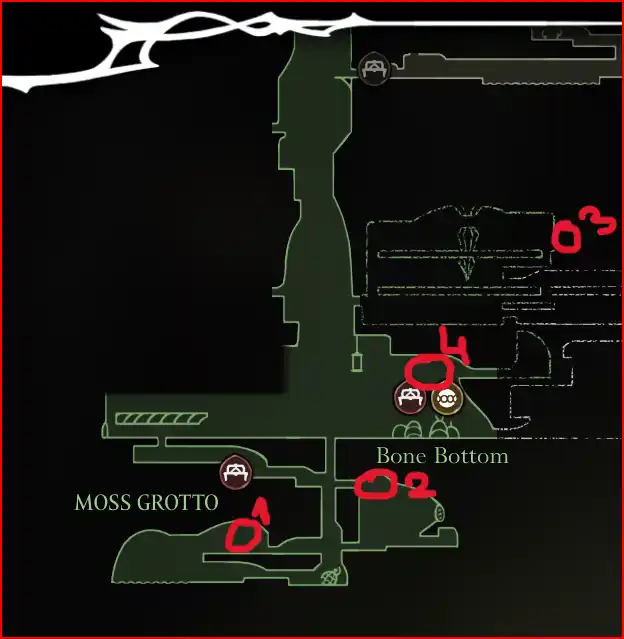
Full Map of Berry Locations:
- Berry #1: Hanging openly in a visible location. Easy to collect.
- Berry #2: Requires using a flying fly enemy in the area to pogo bounce off it (using a downward slash in mid-air) to reach the berry.
- Berry #3: Found in the jaws of a fly enemy. This enemy is located below the Druid’s dwelling.
- Berry #4: Carried by a fly enemy flying over a pit. It seems impossible at first, but players have found methods:
- Method 1: Use the elevator nearby to reset your position. Hit the fly once, take the elevator back up, and repeat. It takes about 3-6 hits to defeat it, causing the berry to drop.
- Method 2: From the far-right platform, use downward slashes to pogo on the fly itself to kill it.
- Method 3 (from comments): Use the Threadstorm ability (Q) while falling onto the fly to deal damage.
- Berry #5: Located in the Weaver’s Den Atlas area. This area requires the Iglauncher (a tool likely for traversal) to access.
- Path (from comments): Use flying enemies to pogo up to hanging cages. Then, navigate past a patrolling beetle using cover (Hornet’s standard speed is sufficient). This path leads to a door requiring a Simple Key (purchased for 500 Rosaries in the first town). Behind the door is a parkour section leading down to a new checkpoint and a beetle with the berry in its jaws.


- Berry #4: The most common strategy is to patiently attack the fly 3-6 times using a combination of the elevator, projectiles (daggers), or pogo attacks until it dies and drops the berry.
- Berry #5: Requires a Simple Key and advanced platforming. The path involves using enemies for elevation, stealthily avoiding a pursuing mole, and completing a downward parkour section.
Troubleshooting: If you’re struggling with Berry #2, ensure you are correctly performing the pogo move (downslash on an enemy) to gain the height needed.
Guide by: ЕБЕНЬГРАДОВЕЦ
- Hollow Knight: Silksong – How to Complete the Volatile Flintbeetle Quest
- Hollow Knight: Silksong – A Guide to Enemies, Sharpe’s Companions
- Hollow Knight: Silksong – How to Obtain Every Needle Upgrade
- Hollow Knight: Silksong – How to Upgrade and Sharpen Hornet’s Needle
- Hollow Knight: Silksong – All Areas and Regions Guide (Complete List)
- Hollow Knight: Silksong – All NPCs and Merchants Guide (Complete List)
- Hollow Knight: Silksong – Quests Guide