Stuck on The Great Conchflies? Our boss guide reveals the easy strategy to win. Learn when to attack, how to dodge the bouncing spikes, and the safe spot to avoid damage.
Table of Contents
How to Beat The Great Conchflies (Easy Boss Guide)
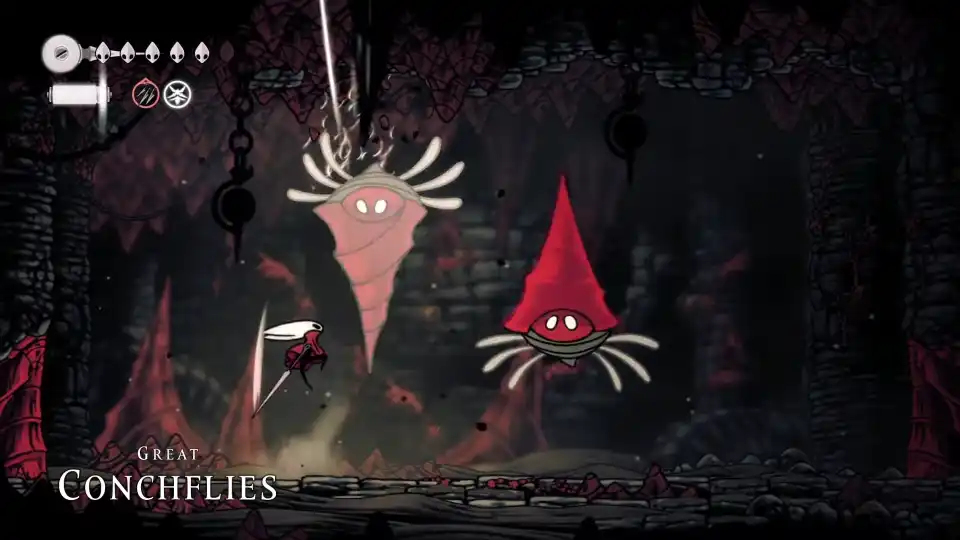
The Great Conchflies, a duo of burrowing insects in the Blasted Steps, can be a frustrating roadblock due to their elusive nature and chaotic projectile patterns. This boss fight is less about relentless aggression and more about patience and positioning. This guide breaks down the simple strategy to defeat them easily.
Location & Overview
The Great Conchflies boss is found in the Blasted Steps area. The fight involves two identical creatures that spend most of their time underground, surfacing only to attack before burrowing again. The key is to capitalize on their brief vulnerability windows.
Phase 1 & 2 Strategy (The Entire Fight)
The boss does not have traditional phases; both creatures share one health bar and use the same attacks throughout the entire fight.
1. When to Attack: The Vulnerability Window
Your only safe time to attack is when they are burrowing back into the ground. As they tunnel downward, they are momentarily stuck in the animation. This is your signal to move in and get 2-3 quick hits.
- Crucial Tip: Always move to where they are heading, not where they emerged from. Position yourself where they are currently digging down to maximize your damage window.
2. How to Dodge the Bouncing Spike
The Conchflies’ primary attack is to surface and fire a single spike that bounces around the arena diagonally.
- Stay Grounded: The most important rule is to avoid jumping unnecessarily. Jumping often places you directly into the spike’s unpredictable diagonal path. Keep your movements on the ground as much as possible.
- Find the Safe Spot: After the spike makes its first bounce, it becomes slightly more predictable. More importantly, if you position yourself close to the boss that just fired the spike (after the first bounce), the projectile will often not reach you. This creates a safe zone near the attacker.
- The Distraction: One Conchfly will often attack from the side while you are focused on dodging the other’s projectile. Be aware of both enemies at all times.
Step-by-Step “Easy” Strategy
- Wait: Let one of the Conchflies surface and fire its spike.
- Dodge: Watch the spike’s initial trajectory and first bounce. Move minimally on the ground to avoid it.
- Position: As the spike settles into its pattern, quickly move close to the boss that just attacked.
- Attack: The boss will soon begin to burrow back down. As it starts this animation, unleash your attacks.
- Repeat: Disengage and repeat the process for the other Conchfly. Remember, you only need to deplete one health bar; you don’t have to kill both creatures individually.
Pro Tips and Tricks
- Aggression for Sustain: Being aggressive during the vulnerability windows not only deals damage but also generates Silk from your hits. This allows you to heal more frequently to counteract any mistakes.
- Patience is Key: This is not a DPS race. Trying to attack outside of the burrowing animation will almost certainly get you hit. Wait for your guaranteed openings.
- Heal Timing: The best time to heal is immediately after a boss has finished its burrowing animation and the other is not currently attacking. The brief lull is a safe window for a quick heal.
By following this patient strategy of dodging, positioning, and striking only during safe windows, you will defeat The Great Conchflies with minimal stress. Good luck!
- Hollow Knight: Silksong – How to Beat Raging Conchfly (Easy Solo Boss Guide)
- Hollow Knight: Silksong – How to Get the Sands of Karac Map (Full Shakra Guide)
- Hollow Knight: Silksong – How to Get the Blasted Steps Map (Shakra Location)
- Hollow Knight: Silksong – 15 Advanced Tips & Secrets You NEED To Know
- Hollow Knight: Silksong – Cogheart Pieces Guide: Find All 3 & Fix the Automaton
- Hollow Knight: Silksong – How to Find the Key of Apostate
- Hollow Knight: Silksong – How to Unlock Fast Travel