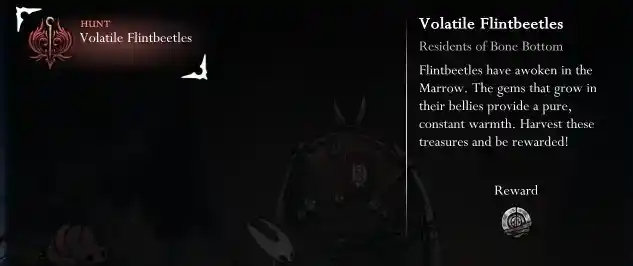
Pharloom is full of dangerous creatures and rewarding challenges. One of the most explosive errands you’ll find on the quest board is hunting Volatile Flintbeetles. This quest is crucial for players looking to power up their crests and unlock new build possibilities.
Table of Contents
This step-by-step guide will show you exactly where to find all three Flintbeetles, how to defeat them safely, and how to claim your valuable reward.
Where to Get the Volatile Flintbeetle Quest
You won’t find this quest from an NPC. Instead, you must head to a specific location:
- Location: Return to Bonebottom.
- How to Start: Find the Quest Board that you used earlier in the game. The “Volatile Flintbeetles” notice will be posted there once you have reached the Greymore region in your playthrough.
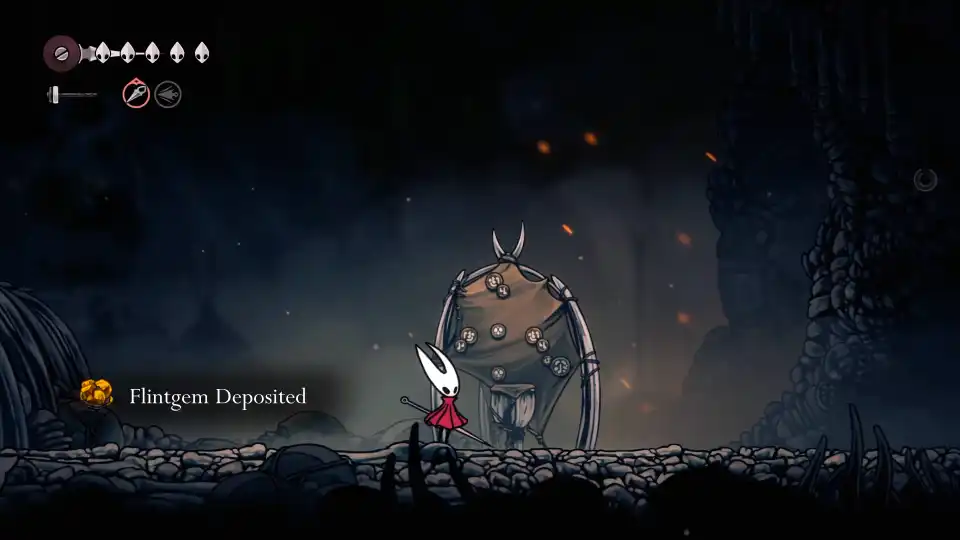
- Objective: The quest tasks you with finding three Flintbeetles in the Marrow region and collecting the Flint Gems they drop upon defeat.
Flintbeetle #1 Location: The Starting Cave
The first beetle is conveniently located near the entrance to the Marrow region, making it an easy first find.
- From the entrance of the Marrow region, proceed forward and upward using basic platforming.
- Keep an eye out for a cave or platform adorned with glowing orange amber deposits. This is your visual cue.
- You will find the first Flintbeetle lurking here.
Combat Tip: As soon as you jump and attack it, the beetle will activate. Be extremely careful—it explodes and releases volatile gas. Land your hits quickly and retreat to avoid the blast. Once defeated, collect the Flint Gem it drops.
Flintbeetle #2 Location: The Northern Cliffs
The second beetle requires a bit more navigation and is found in a higher, northern area of the Marrow.
- From the first location, head north and start climbing upwards.
- The path mirrors the one you might have taken for a previous “flea-collecting” quest. Traverse the platforms and jump across gaps.
- A key tracking clue is the presence of distinctive dung piles on the path, indicating you’re going the right way.
- Continue to the top-right section of this platforming area to find the second Flintbeetle.
Combat Tip: The strategy is the same: aggro the beetle, engage carefully to avoid its explosive death, and secure the second Flint Gem.
Flintbeetle #3 Location: The Bounce-Bounce Puzzle
The final beetle is hidden away in a section that requires mastery of one of Hornet’s new movement mechanics.
- Head to the eastern part of the Marrow region.
- You will need to use the bounce pads (the green, mushroom-like objects) to ascend.
- The path requires a precise sequence: bounce from one pad to another, triangulating your position to reach the very top of this chamber.
- Once at the top, simply drop down the other side. The third and final Flintbeetle will be waiting for you on the left.
Defeat it with the same cautious strategy and pick up your final Flint Gem.
How to Turn In The Quest and Claim Your Reward
With all three Flint Gems in hand, your job is not done.
- Return to Bonebottom. Fast travel or make your way back to the starting area.
- Interact with the Quest Board once more to turn in the completed quest.
Your reward for this explosive hunt is a Memory Locket. This is not a trivial item—it is a powerful upgrade material that allows you to unlock a slot on one of your Crests. This enables you to equip multiple items or charms simultaneously, dramatically increasing your build flexibility and power for the challenges ahead.
This quest is a must-complete for any player looking to maximize Hornet’s potential in the mid-game.
- Hollow Knight: Silksong – A Guide to Enemies, Sharpe’s Companions
- Hollow Knight: Silksong – How to Obtain Every Needle Upgrade
- Hollow Knight: Silksong – How to Upgrade and Sharpen Hornet’s Needle
- Hollow Knight: Silksong – All Areas and Regions Guide (Complete List)
- Hollow Knight: Silksong – All NPCs and Merchants Guide (Complete List)
- Hollow Knight: Silksong – Quests Guide
- Hollow Knight: Silksong – All Bosses Confirmed So Far