Get the Clawline grapple hook fast in Hollow Knight: Silksong! Our guide shows the quickest route through the Citadel, Whiteward, and Underworks to unlock this essential Act 2 traversal tool.
Table of Contents
- 1. How to Get the Clawline (Grapple Hook) Ability Fast | Act 2 Guide
- 1.1.1 Prerequisites: Reach the Citadel in Act 2
- 1.1.2 Step 1: Obtain the White Key & Unlock First Shrine
- 1.1.3 Step 2: Travel to Whiteward Region
- 1.1.4 Step 3: Whiteward Walkthrough – Shortcut & Relic
- 1.1.5 Step 4: Get the Map & Enter the Underworks
- 1.1.6 Step 5: Obtain the Clawline in the Underworks
- 1.1.7 Step 6: Escape Using the Clawline & Unlock Fast Travel
How to Get the Clawline (Grapple Hook) Ability Fast | Act 2 Guide
The Clawline (or Grapple Hook) is the first essential traversal ability you’ll acquire in Act 2 of Hollow Knight: Silksong, unlocking new movement and combat options. This guide provides the fastest route to obtain it immediately after reaching the Citadel, including key shortcuts, items, and the path back to safety.
Prerequisites: Reach the Citadel in Act 2
This guide begins at the Grand Bellway in The Citadel. Ensure you have unlocked both the Ventrica and Bellway fast travel stations here. If you need help reaching this point, check the author’s other guides linked in the video description.
Step 1: Obtain the White Key & Unlock First Shrine
- From the Grand Bellway, head west into the Citadel’s main vertical chamber.
- Platform up to the top west exit of this chamber.
- In the next room, hit a lever to spin a wheel, then wall-climb up it.
- Continue east, carefully avoiding damaging exhaust plumes, to reach the First Shrine.
- Grab the White Key on the eastern ledge.
- (Optional but Recommended) Enter the Shrine, slash the webs, and hit the lever to activate the bell. This eventually creates a new town with a valuable shop.
- Unlock the Ventrica Station nearby for fast travel back to the Grand Bellway.
Step 2: Travel to Whiteward Region
- With the White Key, head west from the Bellway and take the first western exit.
- Navigate past enemies and traps, hitting a lever to open the path forward.
- In the next area, break out of the tower, drop down, and enter the Whiteward to the east.
- Use the White Key to unlock the lift down into the ward and activate the bench on the other side for a checkpoint.
Step 3: Whiteward Walkthrough – Shortcut & Relic
- Ride the lift down and head west, avoiding exhaust and saw traps.
- Drop into an operating room. Clear the debris to the east to create an escape route.
- (Optional) Head west to grab the Choral Commandment Relic, which triggers a fight with a Dreg Husk (can be skipped).
- Head east and hit a lever to open a shortcut back to the bench and a new path on the east side of the lift shaft.
Step 4: Get the Map & Enter the Underworks
- Drop down the new eastern path to find the map station for Whiteward.
- Head further east, vault over Morticians and spike pits, then go to the upper level.
- Head west first to obtain the extremely useful Injector Band (blue tool), which speeds up healing.
- Return east and jump down into the furnace—a one-way path leading to the Underworks.
- A short distance down and west leads to a new bench (activate it) and checkpoint. Equip the Injector Band.
Step 5: Obtain the Clawline in the Underworks
- From the bench, head west, drop down, and hit a wheel lever multiple times to activate an air lift.
- Ride it up and take the western exit.
- Carefully drop to the bottom of the vertical chamber, avoiding enemies and hotspots.
- Take the bottom east exit. Navigate past explosive Cogwork Haulers and lava falls.
- Perform a well-timed wall jump to pass an Undersweep enemy and reach the exit it guards.
- In the next chamber, take the one-way portal at the top west.
- A few leaps west leads to the Altar that grants the Clawline ability.
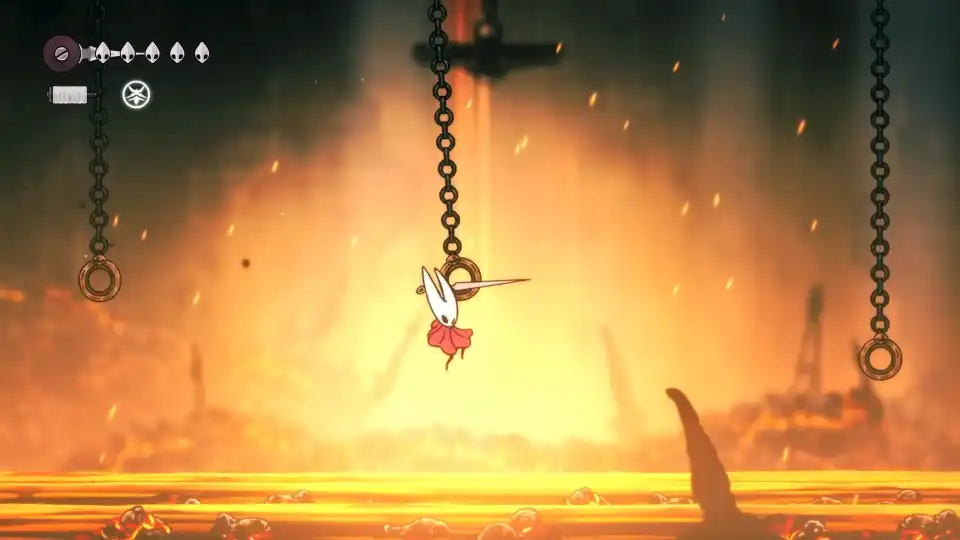
Step 6: Escape Using the Clawline & Unlock Fast Travel
- The platforms disappear after obtaining the Clawline. Use the new grapple hook on the rings to ascend.
- Manage your Silk meter; wait a moment for it to regenerate between grapples if needed.
- Head west and up to find a Shard Bundle (optional).
- Continue east to a chamber with a chain. Use the Clawline on it to trigger several enemy waves.
- Defeat all enemies to open a passage in the upper east corner, leading back to the bench.
- (Optional) Visit the Twelfth Architect NPC east of the bench to purchase unique tools.
- To unlock the Underworks Ventrica Station: From the bench, go west down the first tube, take the bottom east exit, head west through another exit, then go up west and hit a lever to cross a gap. Follow the signs.
The Clawline transforms both traversal and combat, allowing you to access new areas and engage enemies with creative mobility. This efficient route minimizes backtracking and ensures you’re prepared for the challenges of Act 2.
- Hollow Knight: Silksong – How to Repair the Sinner’s Road Bench
- Hollow Knight: Silksong – A Complete Hunter’s Journal Guide (All 237 Enemies)
- Hollow Knight: Silksong – How to Reach Act 2 Early Without the Last Judge
- Hollow Knight: Silksong – How to Get the Cogfly Tool | High Halls Location Guide
- Hollow Knight: Silksong – How to Beat The High Halls Boss Fight (Secret Shakra Helper Method)
- Hollow Knight: Silksong: Comprehensive Guide to Crests (Locations, Strategies)
- Hollow Knight: Silksong – How to Beat Raging Conchfly (Easy Solo Boss Guide)