You’ve fought your way through the treacherous, bile-slicked caverns of Sinner’s Road, desperately low on health and even lower on hope. You finally see it in the distance—the familiar, comforting shape of a bench. But as you get closer, your relief turns to dread.
Table of Contents
- 1.1 Sinner’s Road: A Hostile Welcome
- 1.2 The Two-Part Problem: Paying and Puzzling
- 1.3 The Walkthrough: Repairing the Sinner’s Road Bench
- 1.3.1 Step 1: Finding the Hidden Path
- 1.3.2 Step 2: Preparing for the Parkour – The Best Charm Loadout
- 1.3.3 Step 3: Conquering the Moving Spikes
- 1.3.4 Step 4: Clearing the Vines and Claiming Your Reward
The bench is broken and unusable. In a classic move from developer Team Cherry, this crucial checkpoint, your only bastion of safety in a deeply hostile land, is locked behind a challenging and intricate environmental puzzle.
This guide is your comprehensive, step-by-step walkthrough to repairing the Sinner’s Road bench. We’ll show you how to find the hidden path that leads to the repair mechanism, provide a detailed strategy for conquering the difficult parkour section that guards it, and recommend the best charm loadouts to make this challenge as painless as possible. Don’t give up hope; a safe place to rest is within your reach.
Sinner’s Road: A Hostile Welcome
Before we dive into the puzzle, it’s important to understand the context of the area. Sinner’s Road is a difficult mid-to-late game biome known for its aggressive and revolting enemies. The pathways are teeming with creatures like the ravenous Muckroach, the cunning Roachcatcher, and the brutish Roachkeeper. The very environment seems hostile, and progressing through this area is a significant challenge.
Because of this high level of difficulty, having a working bench in this location is absolutely critical. It serves as your only checkpoint, a place to heal, and a spot to change your charm loadout to adapt to the area’s threats. The bench repair puzzle is not an optional side quest; for most players, it is a mandatory roadblock that must be overcome to progress deeper into the kingdom of Pharloom.
The Two-Part Problem: Paying and Puzzling
Getting this bench up and running is a two-step process.
- Paying the Toll: When you first interact with the broken bench, you will be prompted to pay a sum of Geo to “unlock” it. You must pay this fee first. However, doing so will not immediately repair it.
- The Repair Mechanism: After you’ve paid, you’ll notice the bench is still in pieces. The real task is now to find and clear the overgrown vines that are jamming the bench’s internal mechanism, which is hidden in a secret room nearby.
The Walkthrough: Repairing the Sinner’s Road Bench
Follow these steps to find the mechanism and finally get your well-deserved rest.
Step 1: Finding the Hidden Path
The entrance to the puzzle room is cleverly hidden in the same area as the broken bench itself.
- Location: Go to the upper left corner of the bench room.
- How to Open It: The wall in this corner is a classic breakable wall. It may look solid, but you must strike it repeatedly with your needle. After several hits, the wall will crumble, revealing a hidden passage that leads to the parkour challenge.
Step 2: Preparing for the Parkour – The Best Charm Loadout
The path ahead is a difficult platforming challenge that will test your mastery of Hornet’s pogo (downward slash) ability. Before you enter, it is highly recommended that you equip a charm build specifically designed for this type of precision platforming. Here is a recommended loadout:
- Wanderer’s Crest: This is the most important charm for this challenge, as suggested by the community. It changes Hornet’s default diagonal down-slash into a straight, vertical pogo attack. This makes bouncing on spikes and enemies much more reliable and predictable, which is essential for the puzzle ahead.
- Mark of Pride or Longnail: Equipping one of these charms will increase the reach of your needle. This extra range gives you a larger margin for error when trying to pogo on the small hitboxes of the spikes.
- Quick Focus: The parkour section is dangerous, and you will likely take damage. Quick Focus allows you to heal faster, giving you more opportunities to recover between the difficult platforming sections.
- Lifeblood Heart / Joni’s Blessing: If you are confident in your platforming and don’t plan on healing, these are great alternatives. They will provide you with a larger buffer of Lifeblood masks, allowing you to absorb a few mistakes without dying.
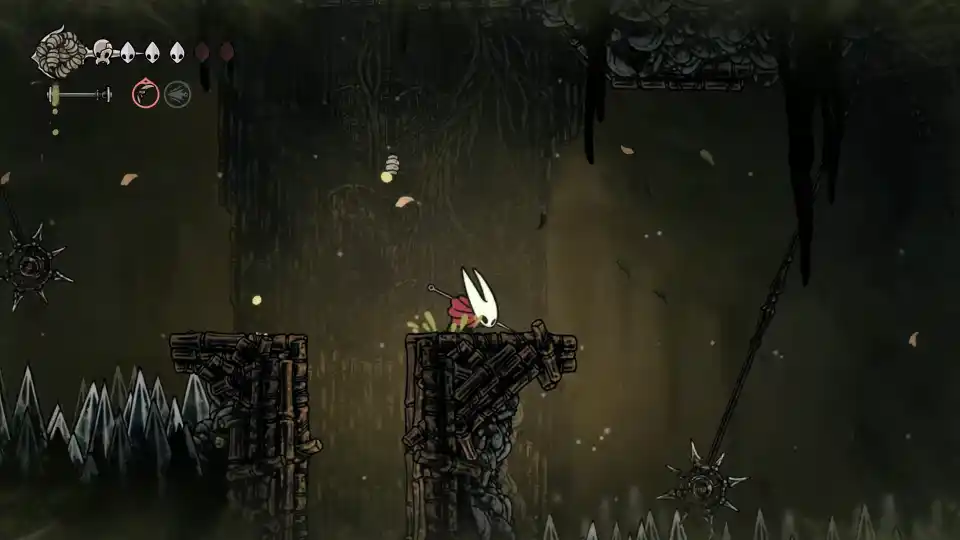
Step 3: Conquering the Moving Spikes
The hidden passage leads to a dangerous gauntlet of moving spike platforms over a deadly chasm. You must use your pogo on the tops of these moving spikes to bounce your way across the room.
- Patience is Key: The most important advice for this section is to be patient. Do not rush. Before you even attempt the first jump, take a moment to simply stand on the ledge and watch the spikes. Observe their movement patterns, their speed, and the rhythm of their cycle.
- One Bounce at a Time: This challenge is about rhythm, not speed. Make your first bounce onto a spike, land safely, and then wait. Recalibrate, watch the next spike, and time your next jump. Trying to rush through the entire sequence in one fluid motion is a recipe for a quick death.
- Come Prepared: Make sure you enter the room with full health and a full spool of Silk. A few mistakes are almost inevitable, and having enough health and silk to heal will give you the best chance of success.
Step 4: Clearing the Vines and Claiming Your Reward
After you have successfully navigated the spike parkour, you will arrive in a small chamber containing the bench’s blocked mechanism. The final step is simple. Walk up to the glowing vines that are wrapped around the gears and strike them with your needle. Once the vines are cleared, you will hear a satisfying “click” as the mechanism is freed.
Now, you can safely make your way back to the main room. You will find that the bench has been fully repaired and is now available for you to rest, heal, and equip your charms for the difficult road ahead.
By following this guide, you can overcome this tough but fair challenge that tests your mastery of Hornet’s core abilities. With the right charm loadout and a little bit of patience, you’ll have this crucial checkpoint unlocked in no time. Good luck, little weaver!
- Hollow Knight: Silksong – A Complete Hunter’s Journal Guide (All 237 Enemies)
- Hollow Knight: Silksong – How to Reach Act 2 Early Without the Last Judge
- Hollow Knight: Silksong – How to Get the Cogfly Tool | High Halls Location Guide
- Hollow Knight: Silksong – How to Get the Clawline (Grapple Hook) Ability Fast | Act 2 Guide
- Hollow Knight: Silksong – How to Beat The High Halls Boss Fight (Secret Shakra Helper Method)
- Hollow Knight: Silksong: Comprehensive Guide to Crests (Locations, Strategies)
- Hollow Knight: Silksong – How to Beat Raging Conchfly (Easy Solo Boss Guide)