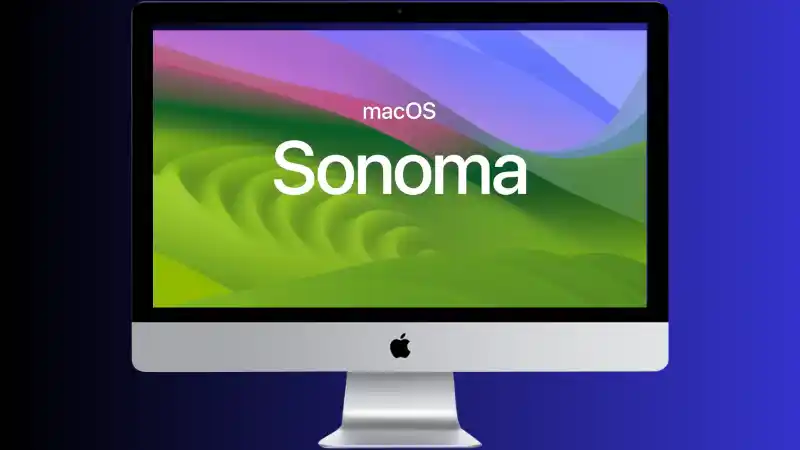
If your Mac won’t boot and Internet Recovery fails, the best option is to create a macOS Sonoma bootable USB installer. Normally, you’d make this on a working Mac using Terminal, but if you only have a Windows PC available, don’t worry — it’s still possible.
Table of Contents
Here’s a step-by-step guide to creating a macOS Sonoma bootable USB installer on Windows 10/11.
What You’ll Need
- A 16GB (or larger) USB drive (will be completely erased).
- A macOS Sonoma DMG or ISO file (downloaded from Apple or a trusted source).
- A Windows PC with admin access.
- Free software such as TransMac or BalenaEtcher.
Step 1: Download macOS Sonoma Installer
- If you have access to another Mac, download Sonoma directly from the Mac App Store.
- If not, you’ll need a copy of the macOS Sonoma DMG/ISO from Apple’s servers or a verified mirror.
Step 2: Prepare the USB Drive
- Insert the USB stick into your Windows PC.
- Use Disk Management (right-click Start → Disk Management) to delete any partitions and format it as Mac OS Extended (Journaled) if using TransMac, or simply let the imaging tool overwrite it.
Step 3: Use TransMac (Simplest Method)
- Download and install TransMac (15-day free trial).
- Run TransMac as Administrator.
- Right-click your USB drive → Restore with Disk Image.
- Select the macOS Sonoma DMG/ISO.
- Wait (this can take 30–60 minutes).
Once done, the USB is ready.
Step 4: Boot the Mac from USB
- Insert the bootable USB into the iMac.
- Hold Option (⌥) when powering on.
- Select Install macOS Sonoma from the boot menu.
Alternative: Use BalenaEtcher
If TransMac doesn’t work, you can try BalenaEtcher, which is free and straightforward:
- Open Etcher → select Sonoma ISO → select USB → Flash.
Extra Tips
- Make sure the USB drive is at least 16GB (32GB is safer).
- Use a high-speed USB 3.0 stick for faster installation.
- If Internet Recovery keeps failing, reset NVRAM/PRAM and try again after preparing the USB.
✅ With these steps, you’ll have a working macOS Sonoma bootable installer, even if you only have a Windows PC available.
- How to Fix “No Option to Download and Install Windows 11” in Windows Update
- Windows Update KB5063878 Not Showing in Uninstall List: How to Fix It
- How to Mirror Your iPhone to a Windows 11 PC (Easy + High Quality)
- How to Bypass or Fix “The Processor Isn’t Currently Supported for Windows 11”
- How to Fix Windows System Mouse Speed Fluctuations
- How to Remove Microsoft Store Ads Showing Up on Windows
- Kernel Security Check Failure – How to Fix in Windows 11
