
Experiencing unexpected shutdowns combined with a suddenly long BIOS boot time can be frustrating, as it points to a problem that isn’t immediately obvious. Since you have already ruled out malware and basic system file corruption, the issue is likely related to either a hardware problem or a low-level software/driver conflict.
Table of Contents
This guide provides a step-by-step diagnostic process to help you pinpoint and resolve the cause.
Step 1: Check Windows Event Viewer for Clues
Event Viewer is a log of everything that happens in Windows, including the errors that occur right before a crash. This should be your first step.
- Click the Start button, type “Event Viewer,” and open the application.
- In the left-hand pane, navigate to Windows Logs > System.
- Look for any “Error” or “Critical” level events that have a timestamp matching when your computer last crashed.
- Click on these events. The “General” tab below will often provide a specific error code or name a faulty process or driver (e.g.,
nvlddmkm.sysfor NVIDIA driver issues) that can point you in the right direction.
Step 2: Address the Slow BIOS Time
A long BIOS time (also known as POST time) often means the motherboard is struggling to initialize a hardware component.
- Disconnect USB Peripherals: This is a very common cause. Shut down your PC and unplug all non-essential USB devices (webcam, printer, external hard drives, USB hubs, etc.). Leave only your primary keyboard and mouse plugged in. Start the computer and see if the BIOS time is back to normal. If it is, one of your peripherals is failing or causing a conflict.
- Check Storage Drives: A failing SSD or HDD is another primary suspect.
- Download a free tool like CrystalDiskInfo. It will read your drive’s S.M.A.R.T. data and give you a health status (e.g., “Good,” “Caution,” or “Bad”). A “Caution” or “Bad” status means the drive is failing and is likely the cause of your problems.
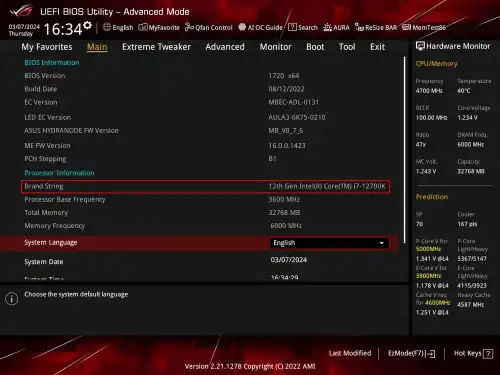
- Update or Reset Your BIOS/UEFI: Visit your motherboard manufacturer’s website and check if there is a newer BIOS version available. An update can fix compatibility and stability issues. Alternatively, you can enter your BIOS/UEFI during startup (usually by pressing
DelorF2) and look for an option to “Load Optimized Defaults” or “Reset to Default Settings.”
Step 3: Run Hardware Diagnostics
If the steps above don’t reveal the issue, you should test your core components.
- Test Your RAM: Faulty RAM is a classic cause of random crashes.
- Click the Start button and type “Windows Memory Diagnostic.”
- Select “Restart now and check for problems.” Your computer will restart and run a comprehensive memory test. If it reports any errors, one or more of your RAM sticks are likely faulty and need to be replaced.
- Check for Overheating: A CPU or GPU that gets too hot will force the system to shut down.
- Download a monitoring tool like HWMonitor or MSI Afterburner.
- Run the tool while you perform a demanding task (like gaming or a stress test) and watch the temperatures. If your CPU exceeds 95°C or your GPU exceeds 90°C, you likely have an overheating problem that could be caused by dust buildup in your fans and heatsinks or failing thermal paste.
Step 4: Consider the Power Supply Unit (PSU)
A failing or inadequate PSU is one of the most common causes of unexpected shutdowns, especially when the PC is under load (like during gaming). Unfortunately, a PSU is difficult to test without swapping it for a known-good unit. If you have completed all other steps and the problem persists, a faulty PSU is a strong possibility.
More Topics
- OneDrive – How to Use One Account on Multiple PCs With Different Storage Sizes
- Windows 11 – How to Fix an Auto-Hiding Taskbar That Won’t Reappear
- Windows 11 Security – How to Stop It From Deleting or Quarantining Files
- Windows 11 – How to Delete Update History
- How to Fix Windows 11 Boot Failure and BCD Errors After a Full Shutdown
- Windows 11 – How to Move the Start Button to the Left and Keep Icons Centered
- Windows 11 – How to Fix a Start Menu That Cannot Be Clicked