
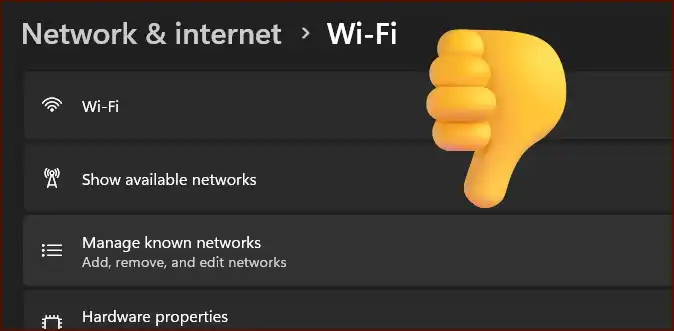
Few things are more disruptive than unstable internet access. Many Windows 11 users have encountered frustrating Wi-Fi connection problems, from intermittent drops and slow speeds to the complete inability to find or connect to any wireless networks. These issues can be caused by outdated network drivers, incorrect power management settings, or corrupted network configurations.
Table of Contents
If your Windows 11 machine is struggling to maintain a stable Wi-Fi connection, don’t worry. There is a series of reliable troubleshooting steps you can follow to diagnose and fix the problem. This guide will help you restore your wireless connectivity and get back online.
📶 Run the Network Troubleshooter
Just like with update issues, the first line of defense is the built-in Windows troubleshooter. This tool can often automatically identify and resolve common network problems.
To use it:
- Go to Settings > System > Troubleshoot > Other troubleshooters.
- Find Internet Connections and click the Run button.
- The troubleshooter will ask you which problem you’re experiencing. Select the option that best describes your issue and let it perform its diagnostics.
🔄 Update or Reinstall Your Network Adapter Driver
An outdated or corrupted Wi-Fi driver is one of the most common causes of connectivity issues. Ensuring you have the latest driver is crucial for stable performance.
To manage your network driver:
- Right-click the Start button and select Device Manager.
- Expand the Network adapters category.
- Right-click on your wireless adapter (it will usually have “Wi-Fi” or “Wireless” in the name) and select Update driver. Choose to search automatically for drivers.
- If updating doesn’t work, you can try reinstalling it. Right-click the adapter again, select Uninstall device (do NOT check the box to delete the driver software), and then restart your computer. Windows will automatically reinstall the driver upon reboot.
⚡ Check Power Management Settings
To save power, Windows can sometimes automatically turn off your Wi-Fi adapter, which can lead to unexpected disconnections. You can prevent this from happening by changing a specific power management setting.
Here’s how:
- Open Device Manager and find your wireless adapter as described above.
- Right-click on the adapter and select Properties.
- Go to the Power Management tab.
- Uncheck the box that says “Allow the computer to turn off this device to save power”.
- Click OK and restart your PC. This simple change can often solve the problem of random Wi-Fi drops.
More Topics
- RTKVHD64.sys – How to Uninstall The Realtek Audio Driver
- How to Fix Windows 11 Update Installation Failures
- How to Fix Performance Issues and Speed Up a Slow Windows 11 PC
- How to Customize the Start Menu and Taskbar in Windows 11
- Civilization 5 – How to Fix Launch and Performance Issues After Windows 11 24H2 Update
- Canva Integrates Directly with ChatGPT and Other AI Assistants
- A Guide to Toyota’s 2025 Hybrid Electric Vehicles (HEV)