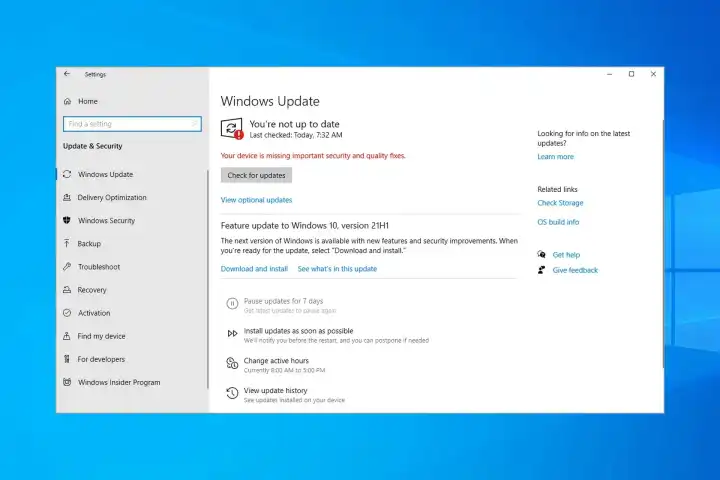
One of the most common frustrations for Windows 11 users is when a crucial update fails to install correctly. You might see an error code like 0x800f0922, or the update process might get stuck for hours without progress. These Windows 11 update installation failures can prevent you from getting the latest security patches and features. Fortunately, there are several troubleshooting steps you can take to resolve these issues and get your system up to date.
Table of Contents
These problems can stem from various causes, including corrupted system files, insufficient disk space, or conflicts with third-party software. By systematically working through the solutions below, you can diagnose and fix the root cause of the update failure on your PC.
🔄 Run the Windows Update Troubleshooter
Your first and easiest step should always be to use Microsoft’s built-in tool designed specifically for this purpose. The Windows Update Troubleshooter can automatically detect and fix many common update problems without requiring complex manual intervention.
To run it, follow these steps:
- Go to Settings > System > Troubleshoot.
- Click on Other troubleshooters.
- Find Windows Update in the list and click the Run button next to it.
- Follow the on-screen instructions and let the tool attempt to resolve any issues it finds. After it finishes, try running the update again.
📂 Clear the SoftwareDistribution Folder
Windows downloads update files into a temporary folder called ‘SoftwareDistribution’. If the files in this folder become corrupted, it can cause the update process to fail repeatedly. Clearing this folder forces Windows to download a fresh copy of the update files.
Here’s how to do it safely:
- Open the Start Menu, type “cmd”, right-click on Command Prompt, and select Run as administrator.
- Type the following commands one by one, pressing Enter after each:
net stop wuauservnet stop bits
This stops the necessary update services. Next, navigate to C:\Windows\SoftwareDistribution in File Explorer and delete all the files and folders inside. Finally, go back to the Command Prompt and restart the services:
net start wuauservnet start bits
Reboot your computer and check for updates again.
🛠️ Use System File Checker (SFC) and DISM
Corrupted system files are a frequent cause of update failures. Windows has powerful built-in tools to scan for and repair these files. You should run both the System File Checker (SFC) and the Deployment Image Servicing and Management (DISM) tool.
Open Command Prompt as an administrator again and run the following commands:
- Type sfc /scannow and press Enter. This will scan all protected system files and replace corrupted versions.
- After the SFC scan is complete, run the DISM tool by typing DISM /Online /Cleanup-Image /RestoreHealth and pressing Enter. This tool repairs the underlying Windows system image.
Once both scans are complete, restart your PC and attempt the update one more time.
More Topics
- RTKVHD64.sys – How to Uninstall The Realtek Audio Driver
- How to Fix Wi-Fi Connection Problems in Windows 11
- How to Fix Performance Issues and Speed Up a Slow Windows 11 PC
- How to Customize the Start Menu and Taskbar in Windows 11
- Civilization 5 – How to Fix Launch and Performance Issues After Windows 11 24H2 Update
- Canva Integrates Directly with ChatGPT and Other AI Assistants
- A Guide to Toyota’s 2025 Hybrid Electric Vehicles (HEV)

