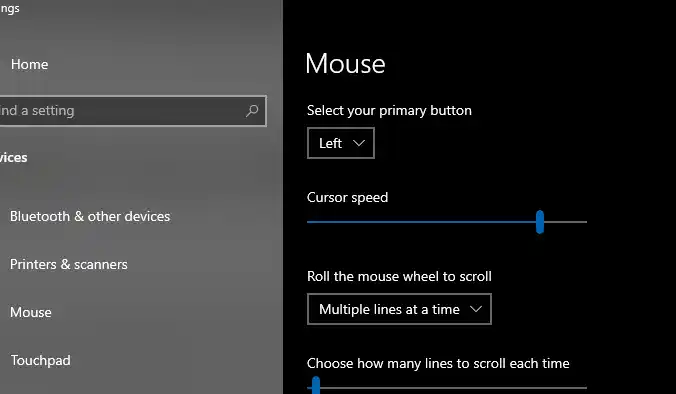
Some Windows 10 and 11 users report that their mouse speed randomly changes between fast and slow, even without altering settings. This issue becomes especially frustrating in FPS games, where precision and consistency are crucial. If you’ve already ruled out hardware issues (tested across brands like Logitech and Razer) and confirmed that drivers/settings look normal, the problem may be caused by Windows system behavior or background software conflicts.
Table of Contents
Common Causes
- Windows Pointer Precision (Enhance Pointer Precision)
- This setting automatically adjusts mouse speed based on movement, which can feel like random speed changes.
- Corrupt or Conflicting Drivers
- Even if the drivers look fine, Windows updates or software conflicts can cause hidden instability.
- Background Software Interference
- Third-party apps (game overlays, screen recorders, or even antivirus tools) may override system input behavior.
- Windows Update Bugs
- Some users report mouse inconsistencies after major Windows updates or patches.
Solutions to Try
1. Disable “Enhance Pointer Precision”
- Go to Control Panel > Hardware > Mouse > Pointer Options.
- Uncheck Enhance pointer precision.
- Apply and test.
This ensures the system isn’t applying acceleration or speed changes automatically.
2. Reinstall or Roll Back Drivers
- Open Device Manager > Mice and other pointing devices.
- Right-click your mouse driver → Uninstall device.
- Restart your PC and let Windows reinstall it.
- Alternatively, install the latest drivers directly from Logitech G Hub or Razer Synapse.
3. Disable Background Apps That Interfere
- Close overlays such as NVIDIA GeForce Experience, Discord overlay, or Xbox Game Bar.
- Temporarily disable antivirus software to test if it impacts mouse input.
4. Check for Windows Updates or Roll Back
- Run Windows Update and install pending patches.
- If the issue started after a recent update, go to Settings > Windows Update > Update History > Uninstall Updates to roll back.
5. Adjust USB Power Management
- Open Device Manager > Universal Serial Bus controllers.
- Right-click each USB Root Hub → Properties > Power Management.
- Uncheck Allow the computer to turn off this device to save power.
This prevents Windows from temporarily throttling your mouse.
6. Test on a Clean Boot
- Press Win + R, type
msconfig, press Enter. - Under Services, check Hide all Microsoft services, then click Disable all.
- Restart your PC.
- If the mouse works fine, re-enable services one by one to find the culprit.
Long-Term Fixes
- Use a dedicated USB 2.0 port instead of 3.0/3.1 if your mouse supports it.
- Turn off DPI shifting buttons in Logitech/Razer software to avoid accidental changes.
- If persistent, consider creating a fresh Windows user profile — sometimes profile corruption causes weird input issues.
✅ With these steps, you should be able to stabilize your mouse speed and regain consistent control for gaming.
- How to Create a macOS Sonoma Bootable USB Installer on Windows
- How to Fix “No Option to Download and Install Windows 11” in Windows Update
- Windows Update KB5063878 Not Showing in Uninstall List: How to Fix It
- How to Mirror Your iPhone to a Windows 11 PC (Easy + High Quality)
- How to Bypass or Fix “The Processor Isn’t Currently Supported for Windows 11”
- How to Remove Microsoft Store Ads Showing Up on Windows
- Kernel Security Check Failure – How to Fix in Windows 11
