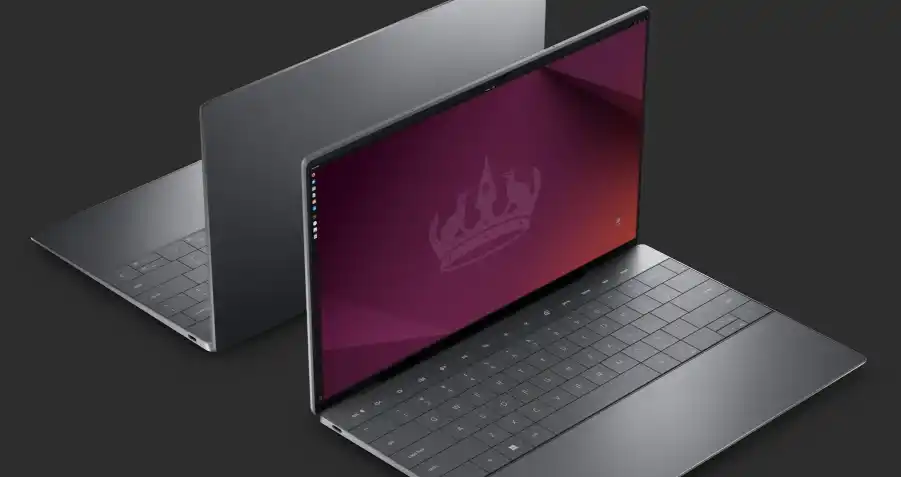
Are you ready to explore the world of Linux through its most popular distribution? Learning how to get started with Ubuntu is a rewarding experience, and the installation process is easier than ever. Ubuntu offers a secure, versatile, and completely free alternative to other operating systems. This guide will walk you through the essential steps, from creating a bootable USB drive to completing the installation on your computer.
Table of Contents
Preparing Your Installation Media
Your first step is to create a bootable USB drive, which will act as your installation medium. You will need a USB stick with at least 4GB of storage. Head to the official Ubuntu website and download the latest LTS (Long-Term Support) version of Ubuntu Desktop. An LTS release is recommended for beginners as it offers stability and is supported with updates for five years. Once you have the ISO file, you will need a tool to write it to your USB drive. A great, user-friendly, and open-source option for this is Balena Etcher, which is available for Windows, macOS, and Linux.
Booting into the Live Environment
With your bootable USB drive ready, you’ll need to boot your computer from it. To do this, you may need to enter your computer’s BIOS or UEFI settings, which is typically done by pressing a specific key (like F2, F12, or Del) during startup. In the settings, you will need to change the boot order to prioritize the USB drive. Once you’ve done this, your computer will boot into the Ubuntu ‘live environment.’ This is a fully functional version of Ubuntu that runs directly from the USB stick, allowing you to ‘Try Ubuntu’ before you commit to installing it on your hard drive. This is a great way to check for hardware compatibility and get a feel for the desktop.
🚀 The Installation Process Step-by-Step
When you’re ready to install, click the ‘Install Ubuntu’ icon on the live desktop. The installer will guide you through a series of simple steps. You will choose your language and keyboard layout. The most important step is the ‘Installation type.’ For beginners, the easiest and safest option is to ‘Erase disk and install Ubuntu,’ but be aware that this will delete all data on the drive. If you want to install Ubuntu alongside Windows (dual-boot), you should choose that option if it’s available. The installer will then guide you through setting your location, creating a user account with a strong password, and then it will begin copying the files to your hard drive.
More Topics
- What to Expect from the iPhone 16 Pro: The Biggest Rumors
- How TSMC’s New Chips Will Power the Future of Tech
- The Battle for the AI PC: Intel’s Lunar Lake vs. AMD’s Strix Point
- What We Know About the Rumored PS5 Pro
- How Intel’s Lunar Lake Chips Are Taking Aim at Apple’s M4
- What is OpenAI’s New GPT-4o and Why is it a Game-Changer?
- How to Connect to a Remote Server with SSH in Ubuntu

