
If you want to truly control your images, learning how to master Manual Mode on your camera in 2025 is the clearest path. Manual Mode puts you in charge of shutter speed, aperture, and ISO, so the camera stops guessing and you start creating. In this guide, we’ll build simple, repeatable habits so you can make confident choices in any light.
Table of Contents
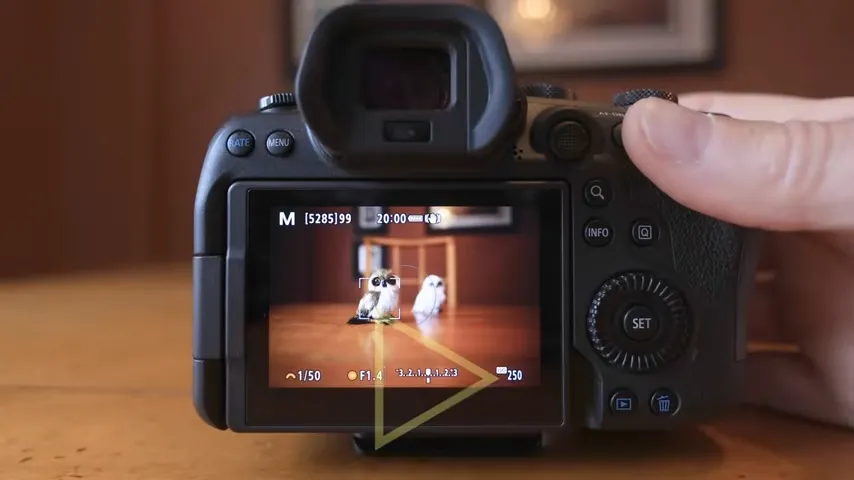
📷 Understanding the exposure triangle
At the heart of Manual Mode is the exposure triangle: shutter speed controls motion, aperture controls depth of field, and ISO controls sensitivity. Fast shutter speeds like 1/1000s freeze action, while slower values like 1/30s introduce motion blur. Wide apertures like f/1.8 create creamy background blur, while narrower options like f/8 keep more of the scene sharp.
As light changes, you trade among the three. If a scene is too dark, you can slow the shutter, open the aperture, or raise ISO. Each choice has a creative and technical cost: slower shutter risks blur, wider aperture reduces depth of field, and higher ISO adds noise.
Use your histogram to validate exposure. Aim for a balanced graph that avoids clipping shadows on the left or highlights on the right. The histogram is more reliable than the rear LCD, which can mislead you in bright sunlight.
🛠 Dialing in shutter, aperture, and ISO
Start each scene by choosing your priority. For portraits, depth of field is king—pick an aperture like f/2.8, then set shutter to roughly the inverse of focal length (e.g., 1/100s for a 100mm lens) to avoid camera shake, and finally adjust ISO to land a clean exposure. For sports, prioritize shutter (e.g., 1/1000s) to freeze motion, then pick the widest aperture you can and raise ISO as needed.
Lock in a consistent white balance for predictable color (Daylight, Cloudy, or Kelvin). Manual white balance reduces color shifts frame to frame, which saves time in editing and keeps skin tones natural.
Metering matters. Try spot metering for backlit subjects and expose for the face, or use evaluative metering for evenly lit scenes. When in doubt, protect highlights—recovering bright areas is harder than lifting shadows.
🧪 Practice routines and real-world scenarios
Build a daily five-minute drill. Indoors, set a subject by a window and cycle through three targets: a sharp portrait at f/2, a motion blur shot at 1/10s, and a clean low-noise frame by balancing ISO below your camera’s noisy threshold. Repetition wires the muscle memory you need under pressure.
Outdoors, shoot a high-contrast scene. Expose for highlights, then bracket two extra frames at +1 EV and +2 EV. Compare files later to see how highlight protection preserves detail in skies. This habit trains you to read light, not just rely on the LCD preview.
In low light, set your minimum shutter (e.g., 1/100s for people), use your lens’s widest aperture, and let ISO rise to meet the exposure. Embrace a bit of grain; sharp, well-exposed images with mild noise beat blurry, underexposed files every time.
Finally, review critically. Tag your winning exposures and inspect EXIF data. Patterns will emerge—typical shutter values, apertures you prefer, and ISO ceilings you tolerate. That awareness turns Manual Mode from guesswork into a reliable workflow.
More Topics
- What Is a Prime Lens and Why Should You Use One?
- How to Photograph in Harsh Daylight Without Losing Detail
- What Is the Golden Hour and How Do You Use It in Photography?
- How to Improve Your Photography Composition Skills Today
- How to Light Portraits at Home on a Budget
- How to Choose the Best Travel Camera for 2025
- How to Shoot Stunning Street Photography in Istanbul