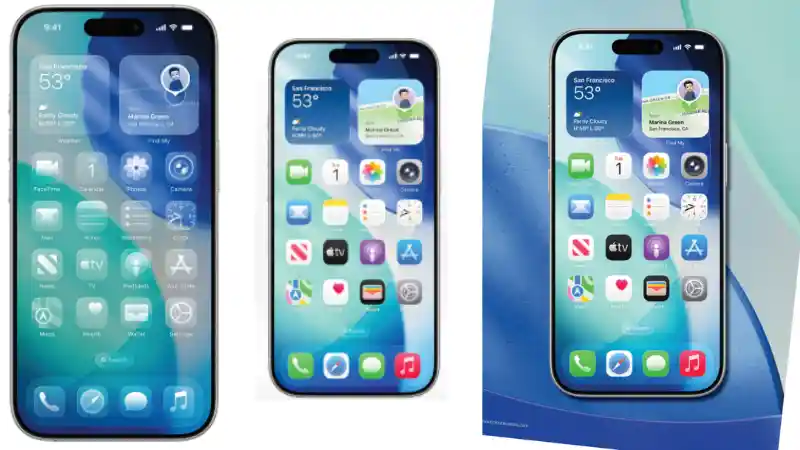
One of the most delightful new features in iOS 26 is StandBy. It’s a clever new mode that transforms my iPhone into a smart display whenever it’s charging and placed in landscape orientation. I’ve found it perfect for my bedside table at night or on my desk during the day. It gives me useful information at a glance, all on a beautiful, full-screen interface.
Table of Contents
StandBy is designed to be seen from a distance. It can display a variety of clocks, my favorite photos, or a customizable set of widgets. It’s a brilliant way to make my iPhone useful even when I’m not actively using it.
For those of us with an iPhone that has an always-on display, StandBy remains visible all the time. On other iPhones, I just need to tap the screen to wake it up. Let’s dive into how to set up and customize this fantastic new feature.
🕰️ A Clock for Every Style
The default view for StandBy is a clock, and there are several different styles to choose from. I can simply swipe up and down on the screen to cycle through them. There are classic analogue faces, modern digital clocks, a beautiful solar-themed clock, and even a world clock that shows the time in different cities.
I can also customize these clocks. By deep pressing on any clock face, I can enter an edit mode. From here, I can change the color scheme for many of the clocks. I’ve set up a few different styles that I can switch between depending on my mood. It’s a nice way to personalize the look.
A particularly thoughtful feature is the night mode. If I’m using StandBy on my bedside table, the phone detects when the lights are low and the screen shifts to a dim red hue. This is much easier on the eyes in the dark and prevents the screen from disturbing my sleep. It’s a great example of Apple’s attention to detail.
🖼️ Your iPhone as a Digital Photo Frame
If I swipe left on the clock screen, StandBy transforms into a beautiful digital photo frame. It intelligently curates photos from my library and displays them in a full-screen slideshow. It’s a wonderful way to rediscover old memories. It shows the date and location where the photo was taken, which adds a nice bit of context.
I have control over which photos are shown. By deep pressing the photo screen, I can bring up customization options. StandBy creates several smart albums for me, like ‘Featured,’ ‘Nature,’ and ‘Pets.’ I can choose which of these albums I want to include in the slideshow by tapping the eye icon next to them.
I can also add my own albums from the Photos app. I created a ‘Family Favorites’ album, and now those pictures show up in StandBy mode. It’s a lovely way to keep my favorite people and moments in view. For more photo tips, see my guide on the new Camera app.
⚙️ Customizable Widgets at a Glance
Swiping left one more time brings me to the widget view. This screen shows two stacks of widgets side-by-side. By default, it shows a clock on the left and a calendar on the right. I can swipe up and down on each stack independently to cycle through different widgets, like the weather, my reminders, or my activity rings.
This is where Smart Stacks come in handy. Each stack can contain multiple widgets, and the iPhone will intelligently show me the most relevant one based on the time of day and my habits. For example, in the morning, it might show me the weather, and in the evening, it might show my smart home controls.
Just like the other screens, I can deep press a widget stack to customize it. I can remove widgets I don’t use and add new ones from a gallery of available options. I’ve set up my stacks to show my calendar, to-do list, and music controls, which gives me a perfect little dashboard for my desk. It’s a powerful and flexible system that makes my iPhone even more useful.
- The New Games App in iOS 26 – A Gamer’s Guide
- Liquid Glass in iOS 26 – An In-Depth Look at the New Design
- iOS 26 – A Complete Guide to What’s New
- Mastering the iOS 26 Lock Screen – A How-To Guide
- Apple Intelligence in iOS 26 – A Practical Guide
- How to Use NameDrop in iOS 26 – The New Way to Share
- iOS 26 Messages App – A Guide to Advanced Features
