When I first started creating videos, I was looking for a powerful yet accessible video editor that wouldn’t break the bank. That’s when I discovered Kdenlive, a free and open-source video editing application that has become my go-to tool for all my projects. It offers a fantastic range of features, from basic cutting and arranging to advanced effects and color correction, all within an intuitive interface.
Table of Contents
Whether you’re making family videos, content for YouTube, or a short film, Kdenlive provides the tools you need to bring your vision to life. This guide will walk you through the basic workflow I use to edit my videos in Kdenlive.
📥 Step 1: Importing and Organizing Your Media
The first step in any video project is to gather all your source material. In Kdenlive, I use the ‘Project Bin’ to import and organize all my media files, including video clips, audio tracks, and images. I can simply drag and drop the files into the bin from my computer’s file manager.
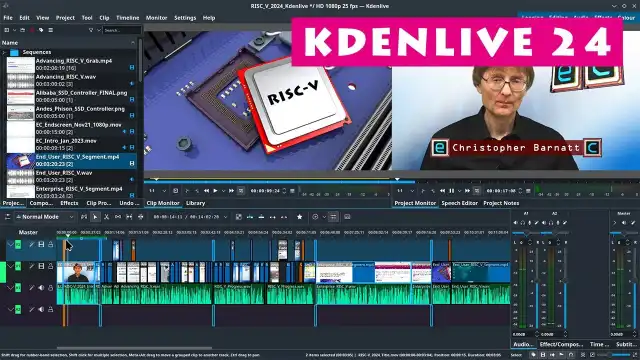
Once my clips are in the Project Bin, I can preview them in the ‘Clip Monitor’. This allows me to review my footage and select the best takes before I start editing. Keeping my project bin organized from the start is a habit that I’ve found saves a lot of time later on.
🎬 Step 2: Arranging Clips on the Timeline
The heart of Kdenlive is the timeline, which is located at the bottom of the screen. This is where I build my video. I drag my selected clips from the Project Bin down onto the video tracks in the timeline. I can easily trim the start and end points of each clip by dragging its edges, and I can rearrange the clips by simply dragging them to a new position.
Kdenlive supports multiple video and audio tracks, which allows me to do things like overlay text, add B-roll footage, or mix background music with my main audio. To create smooth transitions between clips, I can simply overlap them on the timeline, and Kdenlive automatically creates a crossfade effect.
✨ Step 3: Adding Effects and Exporting
Once my clips are arranged, I move on to the creative part: adding effects and transitions. Kdenlive has a large library of effects, which I can access from the ‘Effects’ tab. I can do everything from basic color correction to improve the look of my footage to adding more complex visual effects.
To apply an effect, I just drag it from the effects library onto a clip in the timeline. I can then fine-tune the effect’s parameters in the ‘Properties’ panel. When I’m happy with my edit, the final step is to export the video. I click the ‘Render’ button, choose a preset format (like MP4 for the web), and Kdenlive creates the final video file, ready to be shared. For those who also do photo editing, this guide to GIMP is a great companion resource.
- Build a Python Chat Server: A Beginner’s Guide to Sockets and Threads
- A Practical Guide to Strace in Linux: Debugging the Undebuggable
- A Guide to PostgreSQL – How to Optimize Database Performance
- A Guide to Regex – How to Use Regular Expressions with grep
- A Guide to DNF – How to Manage Software Packages in Fedora
- A Beginner’s Guide to Godot – How to Start Developing Video Games
- An Introduction to Ansible – How to Automate Your System Administration