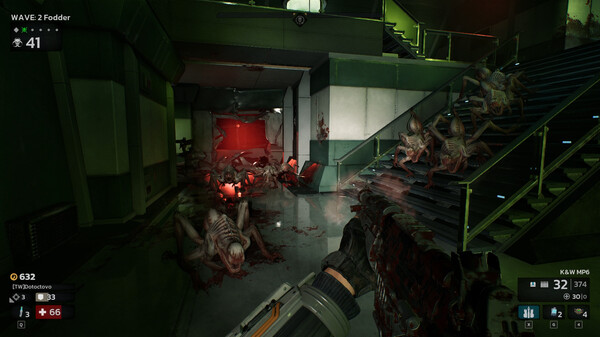
Excited to jump into the action but Killing Floor 3 won’t start? You’re not alone. Many PC players are facing issues like crashing on startup, black screens, or a complete failure to launch. This guide provides clear, actionable steps to fix these problems and get you back in the game.
Table of Contents
- 1. Here Are 13 Fixes for PC
- 1.1.1 1. Restart Your PC
- 1.1.2 2. Verify Integrity of Game Files
- 1.1.3 3. Run the Game as an Administrator
- 1.1.4 4. Perform a Clean Installation of Graphics Drivers
- 1.1.5 5. Force the Game to Use Your Dedicated GPU
- 1.1.6 6. Rename the sl.pcl.dll File
- 1.1.7 7. Update Windows and Visual C++
- 1.1.8 8. Disable Overlays and Background Apps
- 1.1.9 9. Adjust Steam Launch Options
- 1.1.10 10. Reset Your Config Folder
- 1.1.11 11. Check Your Display Cable
- 1.1.12 12. Increase Virtual Memory
- 1.1.13 13. Reinstall the Game on a Different Drive
Here Are 13 Fixes for PC
1. Restart Your PC
The simplest solution is often the most effective. A quick reboot can resolve many temporary conflicts. Restart your computer and try launching the game again.
2. Verify Integrity of Game Files
Corrupted or missing game files are a common cause of launch issues.
- Open Steam and go to your Library.
- Right-click on Killing Floor 3 and select Properties.
- Go to the Installed Files tab.
- Click on Verify integrity of game files. Let the process complete and try again.
3. Run the Game as an Administrator
Giving the game elevated permissions can solve many launch problems.
- Go to the game’s installation folder (Steam > steamapps > common > Killing Floor 3).
- Find the main game executable file (e.g., Nightfall.exe).
- Right-click the .exe file and select Properties.
- Go to the Compatibility tab.
- Check the box for Run this program as an administrator.
- Click Apply and OK.
4. Perform a Clean Installation of Graphics Drivers
Outdated or corrupt drivers are a primary suspect for game crashes.
- Go to the official NVIDIA or AMD website.
- Find the latest driver for your specific graphics card model.
- During installation, select the Custom (Advanced) option.
- Check the box that says Perform a clean installation. This removes old profiles and settings.
- Restart your PC after the installation is complete.
5. Force the Game to Use Your Dedicated GPU
Laptops and some desktops might try to run the game on the weaker integrated graphics.
- For NVIDIA Users:
- Open the NVIDIA Control Panel.
- Go to
Manage 3D Settings > Program Settings. - Add the Killing Floor 3 executable file.
- Set the preferred graphics processor to High-performance NVIDIA processor.
- For Windows Settings:
- Type “Graphics settings” in the Windows search bar.
- Click Browse and add the game’s
.exefile. - Click on the game in the list, select Options, and choose High performance.
6. Rename the sl.pcl.dll File
This specific file can sometimes cause conflicts.
- In Steam, right-click the game, select Manage > Browse local files.
- Navigate to this folder: Nightfall > Plugins > Streamline > Core > Binaries > ThirdParty > Win64.
- Find the file
sl.pcl.dll. - Important: Create a backup of this file first by copying it to your desktop.
- Rename the original file to sl.pcl.dll.old.
- Try to launch the game. If it doesn’t work, restore your backup.
7. Update Windows and Visual C++
- Windows Update: Go to
Settings > Update & Securityand ensure your system is fully updated. - Visual C++: Download and install both the x86 and x64 versions of the latest Visual C++ Redistributable from the official Microsoft website.
8. Disable Overlays and Background Apps
Overlays from Discord, Steam, or NVIDIA GeForce Experience can conflict with games.
- Steam Overlay: In Steam Properties for the game, uncheck Enable the Steam Overlay while in-game.
- Other Apps: Close any unnecessary background applications, especially overclocking software like MSI Afterburner or monitoring tools.
9. Adjust Steam Launch Options
You can force the game to use a specific DirectX version.
- In the game’s Properties on Steam, find the Launch Options box.
- Make sure it is empty. If you have commands like -dx11, remove them.
- Try adding -dx12 and launch the game.
10. Reset Your Config Folder
Your settings file could be corrupt.
- Open File Explorer and type %localappdata% in the address bar.
- Find and open the
Nightfallfolder, then the Saved folder. - Rename the Config folder to Config.old. The game will create a new one on the next launch.
11. Check Your Display Cable
Ensure your monitor’s HDMI or DisplayPort cable is plugged directly into your graphics card, not your motherboard’s video output.
12. Increase Virtual Memory
- In Windows search, type View advanced system settings.
- Under the Advanced tab, click Settings… in the Performance section.
- Go to the Advanced tab again and click Change… under Virtual memory.
- Uncheck Automatically manage paging file size….
- Select Custom size and set the Initial and Maximum size to 1.5x and 3x your total RAM, respectively. (e.g., for 16GB RAM, use Initial: 24576 and Maximum: 49152).
13. Reinstall the Game on a Different Drive
If nothing else works, a fresh start might be needed.
- Uninstall the game through Steam.
- Go to the installation path and delete any leftover folders.
- Restart your PC.
- Reinstall the game, preferably on a different drive (especially an SSD if you have one).