
I’ve often found myself wishing for a second monitor, especially when working on complex projects. Buying a new display can be an unnecessary expense, particularly if you only need it temporarily. Luckily, I discovered an effective and affordable method to turn an old notebook into a second monitor, and it works for connecting other devices like game consoles too.
Table of Contents
The solution involves using a simple video capture card and a powerful free software called OBS Studio. The capture card takes an HDMI signal from your primary device and sends it to your laptop via a USB port. OBS Studio then displays this signal, effectively converting your laptop’s screen into a secondary monitor.
This setup is perfect for creating a more functional workspace without any major costs. You can even use it to record content from the connected device.
🔌 The Hardware Connection
The first step is to get the hardware connected correctly. I’m using a Mac Mini as my primary computer and a Windows notebook as the secondary display for this example.
Here’s the simple process I follow:
- I connect one end of an HDMI cable to the video output of my Mac Mini.
- I plug the other end of the HDMI cable into the input port of the USB video capture card. There are many affordable models available, like the one from Newhope or Techly.
- Finally, I connect the USB cable from the capture card to a free USB port on my Windows notebook.
Once connected, Windows should automatically recognize the capture card as a new video device, often listed as “USB3 Video” under the “Cameras” section in Device Manager.
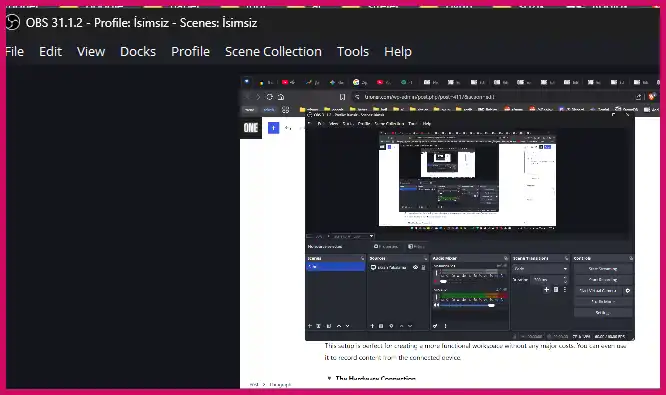
🖥️ Setting Up OBS Studio
With the hardware ready, the next step is to configure OBS Studio. If you don’t have it, you can download it for free from their official website. The installation is straightforward; I just follow the on-screen prompts.
Once OBS is running, I need to add the video capture card as a source:
- In the ‘Sources’ panel at the bottom, I click the ‘+’ button and select ‘Video Capture Device’.
- I give the source a name, like “Second Monitor,” and click OK.
- In the properties window that appears, I select my capture card (e.g., “USB3 Video”) from the ‘Device’ dropdown list. The video feed from my Mac Mini should now appear in the preview window.
This process is similar to how you would set up a webcam for streaming, a topic covered in this guide on using your phone as a webcam.
🖼️ Fullscreen and Final Touches
The video feed is now visible in OBS, but it’s likely not filling the entire screen. To get a true second monitor experience, I need to make it fullscreen. I simply right-click on the video preview and select ‘Fullscreen Projector (Preview)’ and then choose the laptop’s display.
The video from my primary computer now fills the entire screen of my notebook, without any distractions. It’s a fantastic way to extend my desktop and boost my productivity. I also make sure to save the scene in OBS so it’s ready to go the next time I need it. If you’re into automation, you might also be interested in automating tasks with scripts to streamline your workflow further.
More Topics
- Windows 11 – How to Monitor Your PC’s RAM
- Motorola Razr 60 – A Guide to the New Foldable with Moto AI
- Lenovo ThinkCentre Neo 50a – A Guide to the All-in-One PC
- Amazon Fire TV Stick – How Piracy and Sideloading Are Being Blocked
- Ring Cams – How to Use the New ‘Video Descriptions’ AI Feature
- How to Turn a Travel Itinerary into an Animated Map Video
- Nothing Phone 3 – A Guide to Specs, Features, and Price