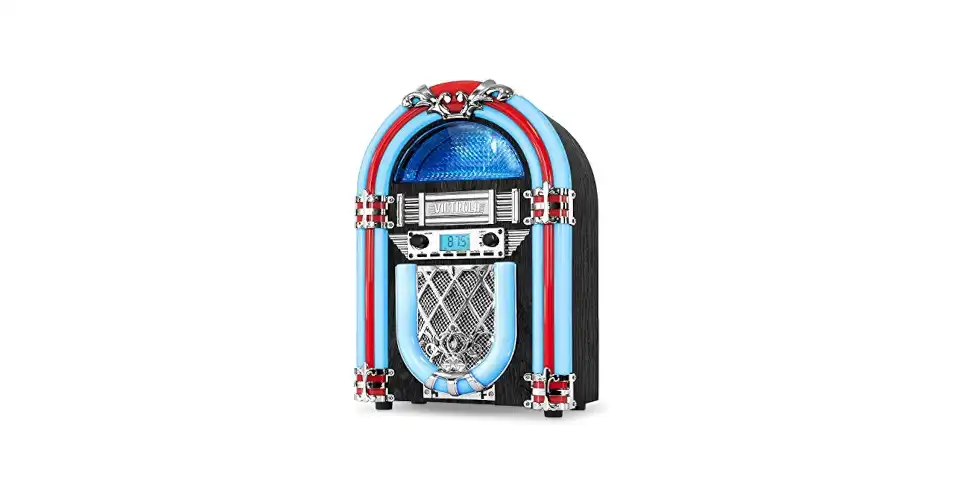
I’ve always been a fan of retro technology, and there’s something incredibly charming about an old-school jukebox. That’s why I was so excited to discover a project that combines that vintage feel with modern digital convenience: building a jukebox radio with a Raspberry Pi. This project uses a fantastic piece of software called Fruitbox to turn the tiny computer into a fully functional music player with a classic jukebox interface.
It’s a fun and rewarding project that’s perfect for anyone who loves tinkering with a Raspberry Pi. This guide will walk you through the essential hardware and software steps to get your own retro jukebox up and running.
🛠️ The Hardware You’ll Need
The beauty of this project is its simplicity. You don’t need a lot of complex hardware to get started. Here’s the list of components I used:
- A Raspberry Pi: Any model from the Raspberry Pi 3 onwards will work perfectly.
- A microSD Card: You’ll need at least an 8GB card to install the operating system and the jukebox software.
- A Power Supply: A reliable power supply for your specific Raspberry Pi model is crucial.
- A DAC (Digital-to-Analog Converter): While you can use the Pi’s built-in audio jack, I highly recommend a DAC HAT (Hardware Attached on Top) for much better sound quality. The magazine suggests models like the HiFiBerry DAC2 HD or the Pimoroni Pirate Audio Line-out.
- An optional touchscreen: For the full jukebox experience, you can add a touchscreen display to navigate your music library.
💿 The Software: Setting Up Fruitbox
The magic of this project lies in the Fruitbox software. It’s designed to emulate the look and feel of a classic jukebox, complete with song selectors and animated graphics. The first step is to get the Raspberry Pi OS set up on the microSD card. I use the official Raspberry Pi Imager for this, as it’s the easiest method.
Once the OS is running, I install Fruitbox. This involves opening the terminal on the Raspberry Pi and running a few simple commands to download and compile the software. The process is well-documented on the Fruitbox website.
After installation, the main task is configuring the jukebox. This is done by editing a text file (`fruitbox.ini`) where I can define the look of my jukebox skin, the controls, and, most importantly, the path to my music library. I load up a USB stick with all my favorite MP3s, and after a bit of configuration, my retro jukebox is ready to play. For more fun projects, you might also be interested in learning how to set up a retro gaming console.
- Build a Python Chat Server: A Beginner’s Guide to Sockets and Threads
- A Practical Guide to Strace in Linux: Debugging the Undebuggable
- A Guide to PostgreSQL – How to Optimize Database Performance
- A Guide to Regex – How to Use Regular Expressions with grep
- A Guide to DNF – How to Manage Software Packages in Fedora
- A Beginner’s Guide to Godot – How to Start Developing Video Games
- An Introduction to Ansible – How to Automate Your System Administration