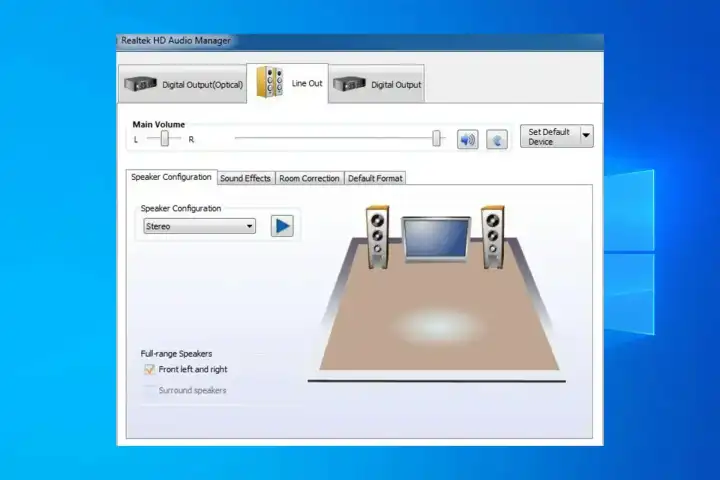
This guide shows you on how to uninstall the realtek audio driver (RTKVHD64.sys) from Windows.
Table of Contents
- 1.1 What is RTKVHD64.sys?
- 1.2 The Pros and Cons of Uninstalling
- 1.2.1 Pros (Why You Should Do It)
- 1.2.2 Cons (What to Be Aware Of)
- 1.3 How to Safely Uninstall the Realtek Audio Driver
- 1.3.1 Step 1: Preparation (Do Not Skip)
- 1.3.2 Step 2: The Uninstallation Process
- 1.3.3 Step 3: Installation of the New Driver
- 1.3.4 What NOT to Do
- 1.4 More Topics
What is RTKVHD64.sys?
RTKVHD64.sys is not a program or application, but a crucial system driver file associated with Realtek High Definition Audio devices. Found in virtually every modern Windows PC, this driver acts as the bridge between your computer’s operating system and its audio hardware (like speakers and microphones). If this file becomes corrupt, outdated, or conflicts with other software, it can lead to a range of problems, from simple audio glitches to critical system errors.
You don’t uninstall the .sys file itself, but rather the entire Realtek Audio Driver package it belongs to. This is a common troubleshooting step for advanced audio issues.
The Pros and Cons of Uninstalling
Before proceeding, it’s important to understand the potential benefits and drawbacks.
Pros (Why You Should Do It)
- Resolve System Crashes (BSOD): If you are experiencing a Blue Screen of Death where
RTKVHD64.sysis named as the culprit, uninstalling and reinstalling the driver is the most effective solution. - Fix Audio Problems: It can solve persistent audio issues like crackling, stuttering, no sound, or microphone problems that basic troubleshooting can’t fix.
- Enable a Clean Installation: Removing the old driver completely allows for a “clean install” of a newer version from your computer manufacturer or Realtek. This ensures there are no conflicting old files left behind, which can improve stability and even unlock new features.
- Resolve Software Conflicts: Sometimes, the Realtek driver can conflict with other audio software, gaming peripherals, or communication apps. A fresh installation can resolve these conflicts.
Cons (What to Be Aware Of)
- Temporary (or Complete) Loss of Audio: This is the most significant and guaranteed consequence. Once you uninstall the driver, your computer’s audio will stop working until you either restart and let Windows install a generic driver, or you manually install a new one.
- Windows Automatic Reinstallation: After you uninstall and reboot, Windows Update will often try to automatically find and install what it thinks is the best driver. This might be an older, generic version that doesn’t perform as well as the one from your manufacturer or may even reintroduce the original problem.
- Incorrect Driver Issues: If you don’t have the correct new driver ready to install, you might be left without sound or with a poorly performing generic driver.
How to Safely Uninstall the Realtek Audio Driver
Follow these steps carefully to ensure a smooth process.
Step 1: Preparation (Do Not Skip)
- Download the Correct New Driver: Before you do anything else, download the latest Realtek audio driver for your system. The best source is the support page for your specific motherboard or laptop model from the manufacturer’s website (e.g., Dell, HP, ASUS, MSI). This ensures full compatibility. Alternatively, you can get a generic version from the Realtek website. Save this file to your desktop so it’s easy to find later.
- Create a System Restore Point: Search for “Create a restore point” in the Start Menu and follow the prompts. This is a safety net that allows you to revert your system to its current state if anything goes wrong.
Step 2: The Uninstallation Process
The safest way to uninstall the driver is through the Device Manager.
- Press the Windows Key + X and select Device Manager from the menu.
- Expand the “Sound, video and game controllers” category.
- Find your “Realtek High Definition Audio” or “Realtek(R) Audio” device in the list.
- Right-click on it and select “Uninstall device.”
- A confirmation window will appear. Crucially, check the box that says “Delete the driver software for this device.” This removes the
RTKVHD64.sysfile and its related package from your system. - Click “Uninstall.”
Step 3: Installation of the New Driver
- Once the uninstallation is complete, reboot your computer.
- When Windows starts up, it might try to install a generic driver. You can let it finish or ignore it.
- Navigate to the new driver file you downloaded in the preparation step.
- Run the installer and follow the on-screen instructions.
- After the installation is complete, reboot your computer one more time to finalize the process. Your audio should now be restored and working correctly.
What NOT to Do
Never manually delete the RTKVHD64.sys file from the C:\Windows\System32\drivers folder. Deleting system files directly can corrupt your Windows installation and potentially prevent your computer from booting up at all. Always use the Device Manager method.
More Topics
- How to Fix Windows 11 Update Installation Failures
- How to Fix Wi-Fi Connection Problems in Windows 11
- How to Fix Performance Issues and Speed Up a Slow Windows 11 PC
- How to Customize the Start Menu and Taskbar in Windows 11
- Civilization 5 – How to Fix Launch and Performance Issues After Windows 11 24H2 Update
- Canva Integrates Directly with ChatGPT and Other AI Assistants
- A Guide to Toyota’s 2025 Hybrid Electric Vehicles (HEV)

