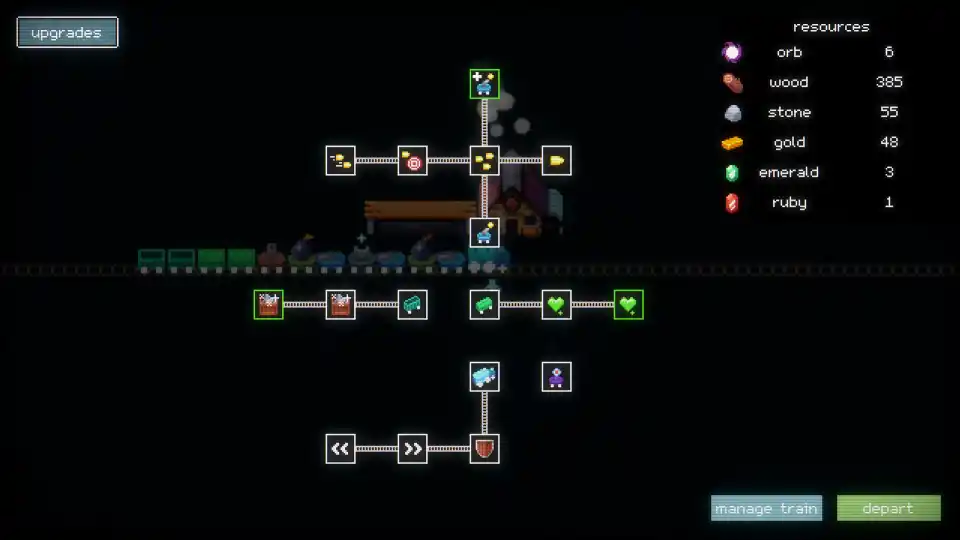
For many players of the action-packed tower-defense game Trainatic, one challenge stands as a final, frustrating barrier to completion: catching the last sphere. This endgame objective has stumped countless conductors, often ending in a narrow, heartbreaking failure. It demands a perfect blend of overwhelming firepower, strategic support, and precise car placement. If you’ve been struggling to conquer this final hurdle, you’re in luck.
Table of Contents
- 1.1 Understanding the Challenge: What is “Catching the Last Sphere”?
- 1.2 The “Last Sphere Catcher” Build: A Detailed Breakdown
- 1.2.1 The Full Train Layout
- 1.2.2 The Core Synergy: The Amplified Laser Cannon
- 1.2.3 The Foundation: A Wall of Spikes
- 1.2.4 The Utility Cars: The Unsung Heroes
- 1.3 How to Use the Build: Strategy and Execution
This guide will provide you with a powerful, community-tested train build specifically designed to give you the edge you need to finally conquer this challenge. We won’t just give you a list of cars; we’ll provide a deep dive into the strategy behind the build, explain the crucial role of each component, and break down the powerful synergies that make this train layout so effective at taking down the toughest objective in the game. While having a fully upgraded tech tree is beneficial, this build is designed to be powerful enough to get the job done even without every single upgrade.
Understanding the Challenge: What is “Catching the Last Sphere”?
Before we get to the build itself, it’s important to understand the nature of the challenge. “Catching the last sphere” is the climactic final objective of a major mission or the entire game. Based on the build’s composition, this is not a simple collection task. It is a high-intensity combat encounter that requires you to inflict a massive amount of sustained damage on a primary target.
The “sphere” is likely a heavily armored, fast-moving final boss or a protected objective that you must destroy before your Orb Catcher car can secure it. The sheer amount of weaponry and damage-boosting support cars in this build suggests that the sphere is either surrounded by waves of powerful enemies, has an enormous health pool, or both. Your goal is to create a train that can output an overwhelming amount of focused damage to burn down the target’s defenses before your train is overwhelmed or the sphere escapes. This build is engineered for exactly that purpose.
The “Last Sphere Catcher” Build: A Detailed Breakdown
This 21-car build is a masterclass in synergy and focused firepower. It must be assembled in a precise order to ensure that the support cars are buffing the correct weapon systems. The following table lays out the entire train, from the front car to the last, along with the specific role each car plays in the overall strategy.
The Full Train Layout
| Position # | Car Name | Role / Purpose |
| 1 | Shotgun | Close-range area defense for the front of the train. |
| 2 | Shotgun | Additional close-range defense. |
| 3 | Impact Support | Buffs the adjacent Spike Shooter, likely increasing its knockback or stun. |
| 4 | Spike Shooter | Consistent, secondary damage source. |
| 5 | Minigun | High fire rate, sustained damage car. |
| 6 | Spike Shooter | Consistent, secondary damage source. |
| 7 | Explosive Support | (CRUCIAL) Buffs the Laser Cars, adding explosive properties to their beams. |
| 8 | Spike Shooter | Consistent, secondary damage source. |
| 9 | Laser Car | (CORE) Primary damage dealer. |
| 10 | Laser Car | (CORE) Primary damage dealer. |
| 11 | Damage Support | (CRUCIAL) Provides a massive raw damage boost to the adjacent Laser Cars. |
| 12 | Spike Shooter | Consistent, secondary damage source. |
| 13 | Lightning Spire | High-damage, single-target weapon, likely for shielded or high-priority enemies. |
| 14 | Echo Support | Buffs the adjacent Spike Shooter, possibly causing its spikes to bounce or hit multiple times. |
| 15 | Spike Shooter | Consistent, secondary damage source. |
| 16 | Grenade Launcher | Area-of-effect (AoE) damage to clear out weaker enemies. |
| 17 | Firerate Support | Buffs the adjacent Spike Shooter, dramatically increasing its rate of fire. |
| 18 | Spike Shooter | Consistent, secondary damage source. |
| 19 | Sniper | Long-range, high-precision damage. |
| 20 | Orb Catcher | (OBJECTIVE) The essential car needed to complete the mission once the sphere is defeated. |
| 21 | Fuel Car | (UTILITY) Provides the necessary fuel to keep the train running for the entire duration of this long and difficult mission. |
The Core Synergy: The Amplified Laser Cannon
The entire strategy of this build revolves around one devastating combination: the two Laser Cars (Positions 9 & 10), supercharged by the Explosive Support (Position 7) and the Damage Support (Position 11). This section of your train is your “main cannon” and should be treated as such.
The Damage Support car provides a massive, direct boost to the damage output of the lasers, while the Explosive Support car likely adds a powerful area-of-effect property to their beams. This transforms the lasers from a simple continuous beam into a high-damage, explosive weapon capable of melting the sphere’s health bar and clearing out any enemies clustered around it. The strategic placement of the Spike Shooter between the Explosive Support and the first Laser Car ensures that no support slot is wasted.
The Foundation: A Wall of Spikes
You’ll notice that the build is packed with Spike Shooters, each one strategically placed next to a different support car (Impact, Echo, and Firerate). These serve as the train’s reliable and consistent secondary damage system. While the lasers do the heavy lifting, this wall of spikes provides a constant stream of suppressive fire that will handle the waves of smaller enemies. The Firerate Support turns its adjacent Spike Shooter into a machine gun, the Echo Support gives its spikes multi-hit properties, and the Impact Support adds valuable crowd control.
The Utility Cars: The Unsung Heroes
No damage-focused build can succeed without proper support.
- The Orb Catcher is the reason you are here. It serves no combat purpose, but you cannot complete the mission without it. Protecting this car is essential.
- The Fuel Car is arguably the most important car on the train. The “last sphere” is an endgame challenge, meaning the mission will be long. Running out of fuel before the sphere is defeated means an instant failure. The Fuel Car ensures you have the endurance to finish the fight.
How to Use the Build: Strategy and Execution
Simply having the right cars is not enough; you need to execute the strategy correctly.
- Positioning is Key: Your primary goal in combat is to ensure that your core Laser Cannon section (cars 7 through 11) has a clear and sustained line of sight to the last sphere. Try to keep your train parallel to the target’s path whenever possible.
- Focus Fire: Do not get distracted by every small enemy that appears. Trust your secondary weapon systems (the Spike Shooters, Shotguns, etc.) to handle the weaker enemies. Your manual control should be focused on aiming and firing the Laser Cars and Lightning Spire directly at the main objective.
- Manage Your Resources: While many cars fire automatically, your support cars and special weapons may have abilities that need to be activated. Use your support buffs during key damage phases to maximize their effectiveness. Conserve the energy for your most powerful weapons for when the sphere is vulnerable.
This build is a powerful and well-thought-out solution to one of Trainatic’s toughest challenges. By understanding the core synergy of the amplified Laser Cars and the role of each component, you will be well-equipped to finally catch that last sphere. If you discover an even more effective build, be sure to share it with the community!
- Wobbly Life: How to Find the Secret Free Motorcycle
- Femboy Futa House – How to Open the Phone and Solve Missing Icon Issues
- Deep Rock Galactic: Survivor – The Ultimate Hazard 5 Strategy Guide
- Deep Rock Galactic: Survivor – A Complete Guide to All Achievements
- Mars Attracts – Save File Location
- Arena Breakout: Infinite How to Play 4:3 Stretched Resolution (Nvidia & Amd Guide)
- Arena Breakout: Infinite – How to Boost FPS/Performance