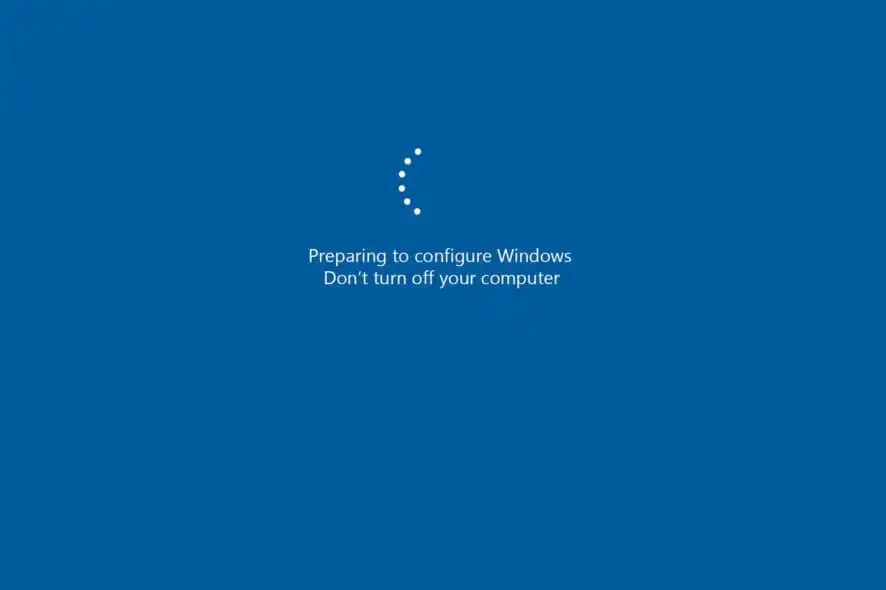
It is common for a new computer to get stuck on an update screen during the final stages of its initial setup (often called the “Out-of-Box Experience” or OOBE). This can happen even if the mouse cursor is still moving. This guide provides several methods to resolve this issue, starting with the simplest.
Table of Contents
Method 1: Wait Patiently
Before taking any drastic steps, it’s important to wait. The very first updates on a new PC can be substantial and take a surprisingly long time to download and install in the background. If there is no hard drive activity light, give the computer at least 1-2 hours to complete the process before assuming it is frozen.
Method 2: Perform a Hard Reboot (Most Common Fix)
If the screen has been stuck for a long time, a forced shutdown is the most common and effective solution.
- Press and hold the physical power button on the computer for 10-15 seconds until the machine shuts down completely.
- Disconnect any non-essential peripherals (like external hard drives or webcams), leaving only the keyboard and mouse.
- Press the power button again to turn the computer back on.
Upon restarting, Windows is designed to either successfully resume the update or roll it back, allowing you to get to the desktop.
Method 3: Bypass the Update by Disconnecting From the Internet
The update process often hangs because of a network issue. Bypassing this step can get you to the desktop, where you can run updates in a more controlled way.
- Perform a Hard Reboot as described in Method 2.
- If the setup process restarts, proceed until you are asked to connect to a Wi-Fi or Ethernet network.
- Look for an option like “I don’t have internet” and select it. This will allow you to complete the setup with a local account.
- Once you are on the desktop, you can connect to the internet and run Windows Update manually through Settings > Windows Update.
Method 4: Use the Windows Recovery Environment (WinRE)
If rebooting doesn’t help, you can use the built-in recovery tools.
- Trigger WinRE: Force the computer to shut down with the power button. Turn it on, and as soon as you see the manufacturer logo or spinning dots, force it off again by holding the power button. Repeat this process 2-3 times in a row. The third time, the system should boot into the blue “Advanced Startup” screen.
- From here, navigate to Troubleshoot > Advanced Options.
- You can then try the following, in order:
- Startup Repair: Let Windows 11 attempt to diagnose and fix the issue automatically.
- Uninstall Updates: If the problem started after a specific update, this option may allow you to remove it.
- Reset this PC: As a last resort, this option will reinstall Windows completely, starting the setup process from the very beginning. Choose “Keep my files” if you have any data you need to save, although on a brand-new PC, a full reset is often best.
More Topics
- Windows 11 – How to Fix a Start Menu That Cannot Be Clicked
- Windows 11 Debloat Scripts – How They Can Cause Problems and Fix Them
- Windows 11 – How to Stop Your Mouse From Waking Up Your PC
- Windows 11 – How to Fix ‘Device Needs to Be Repaired’ Error After Reinstallation
- Windows 11 – How to Fix Bold Icon Text After Unlocking
- RTKVHD64.sys – How to Uninstall The Realtek Audio Driver
- How to Fix Windows 11 Update Installation Failures

