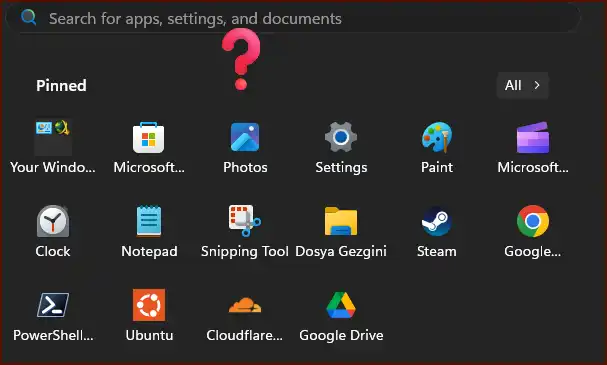
An unresponsive Start Menu can be a frustrating issue that disrupts your workflow in Windows 11. This problem, where the Start button and Windows key fail to respond, is typically caused by software glitches or corrupted system files. This guide provides several effective solutions, starting with the simplest fixes, to restore functionality without needing to reinstall the entire system.
Table of Contents
Method 1: Restart the Windows Explorer Process
This is the quickest first step and often serves as a temporary fix by restarting the process that controls the Start Menu and taskbar.
- Press Ctrl + Shift + Esc to open the Task Manager.
- In the Processes tab, scroll down and find Windows Explorer.
- Right-click on Windows Explorer and select Restart. The taskbar and icons will disappear for a moment and then reload. Check if the Start Menu is now working.
Method 2: Run System File Repair Tools (SFC and DISM)
If restarting Explorer doesn’t work, corrupted system files may be the cause. Windows has powerful built-in tools to find and fix these issues.
- Right-click the Start button (if it’s partially working) or press Win + X, and select Terminal (Admin) or PowerShell (Admin).
- In the blue or black terminal window, type the following command and press Enter to scan and repair system files:sfc /scannow
- After the SFC scan is complete, run the DISM tool to repair the Windows system image by typing this command and pressing Enter:DISM /Online /Cleanup-Image /RestoreHealth
- Once both processes are finished, restart your computer.
Method 3: Re-register the Start Menu Using PowerShell
This advanced solution forces Windows to re-register the Start Menu’s application components, which can resolve deep-seated issues.
- Open the Terminal (Admin) or PowerShell (Admin) as described in the previous method.
- Copy and paste the following command into the terminal and press Enter. Let the process complete, even if you see some red error text.Get-AppXPackage -AllUsers | Foreach {Add-AppxPackage -DisableDevelopmentMode -Register “$($_.InstallLocation)\AppXManifest.xml”}
- After the command finishes, restart your computer.
Method 4: Create a New Local User Account
Sometimes, the issue is tied to a corrupted user profile. Creating a new account is a definitive way to test this. If the Start Menu works in the new account, you can migrate your files over.
- Press Win + R to open the Run dialog, type
netplwiz, and press Enter. - Click the “Add…” button and select “Sign in without a Microsoft account.”
- Choose “Local account” and follow the prompts to create a new user.
- Once created, select the new user from the list, click Properties > Group Membership, select Administrator, and click OK.
- Log out of your current account and log in to the new one to check if the Start Menu is functional.
More Topics
- Windows 11 Debloat Scripts – How They Can Cause Problems and Fix Them
- Windows 11 – How to Stop Your Mouse From Waking Up Your PC
- Windows 11 – How to Fix a New PC Stuck on an Update Screen
- Windows 11 – How to Fix ‘Device Needs to Be Repaired’ Error After Reinstallation
- Windows 11 – How to Fix Bold Icon Text After Unlocking
- RTKVHD64.sys – How to Uninstall The Realtek Audio Driver
- How to Fix Windows 11 Update Installation Failures

