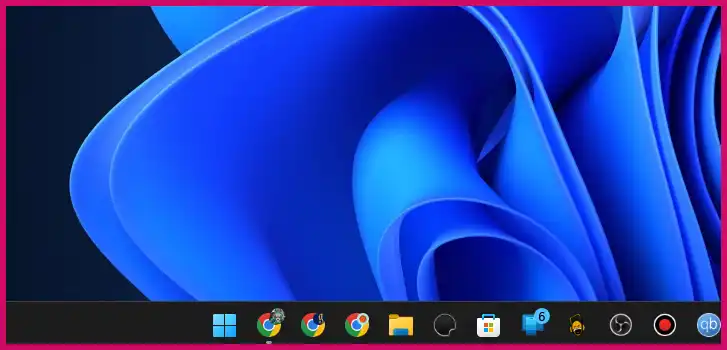
This is a common issue in Windows 11 where the taskbar, when set to automatically hide, gets “stuck” and fails to reappear when you move the mouse to the edge of the screen, especially when an application is open. This is typically a minor glitch with the Windows Explorer process, where an application takes focus and doesn’t let the taskbar show itself.
Table of Contents
Here are the best solutions to fix this without restarting your computer.
Solution 1: Restart the Windows Explorer Process (The Quick Fix)
This is the most effective and immediate solution that does not require a full system reboot. It simply restarts the process that controls your desktop, taskbar, and Start Menu.
- Press
Ctrl + Shift + Escto open the Task Manager. - In the “Processes” tab, scroll down the list to find “Windows Explorer”.
- Right-click on “Windows Explorer” and select “Restart.”
Your desktop icons and taskbar will disappear for a moment and then reload. This action forces the taskbar to reset its state, and it should now appear correctly when you move your mouse to the bottom of the screen.
Solution 2: Use a Keyboard Shortcut
Sometimes, you can force the taskbar to regain focus by opening the Start Menu with your keyboard.
- Press the Windows Key on your keyboard. This will often bring up the Start Menu and, along with it, the taskbar. You can then press the Esc key to close the Start Menu, and the taskbar should now behave correctly.
Preventative and Long-Term Solutions
If this issue happens frequently, one of the following long-term solutions may help prevent it from recurring.
- Update Your Graphics Drivers: Outdated display drivers can cause a variety of graphical glitches. Ensure you have the latest drivers for your NVIDIA, AMD, or Intel graphics card from the manufacturer’s official website.
- Check Application Settings: If the problem only happens with a specific application (like a game), check its display settings. Toggling between “Fullscreen,” “Borderless Windowed,” and “Windowed” mode can sometimes resolve the conflict.
- Run the System File Checker: A corrupted system file could be the underlying cause. You can run a scan to fix this:
- Open the Start Menu, type “cmd”, right-click on Command Prompt, and select “Run as administrator.”
- Type
sfc /scannowand press Enter. Let the scan complete and then restart your PC.
More Topics
- How to Fix Slow BIOS Load Times and PC Crashing
- OneDrive – How to Use One Account on Multiple PCs With Different Storage Sizes
- Windows 11 Security – How to Stop It From Deleting or Quarantining Files
- Windows 11 – How to Delete Update History
- How to Fix Windows 11 Boot Failure and BCD Errors After a Full Shutdown
- Windows 11 – How to Move the Start Button to the Left and Keep Icons Centered
- Windows 11 – How to Fix a Start Menu That Cannot Be Clicked

